
Finally, I bought a large screen, convinced my wife and did it… but one after the other.
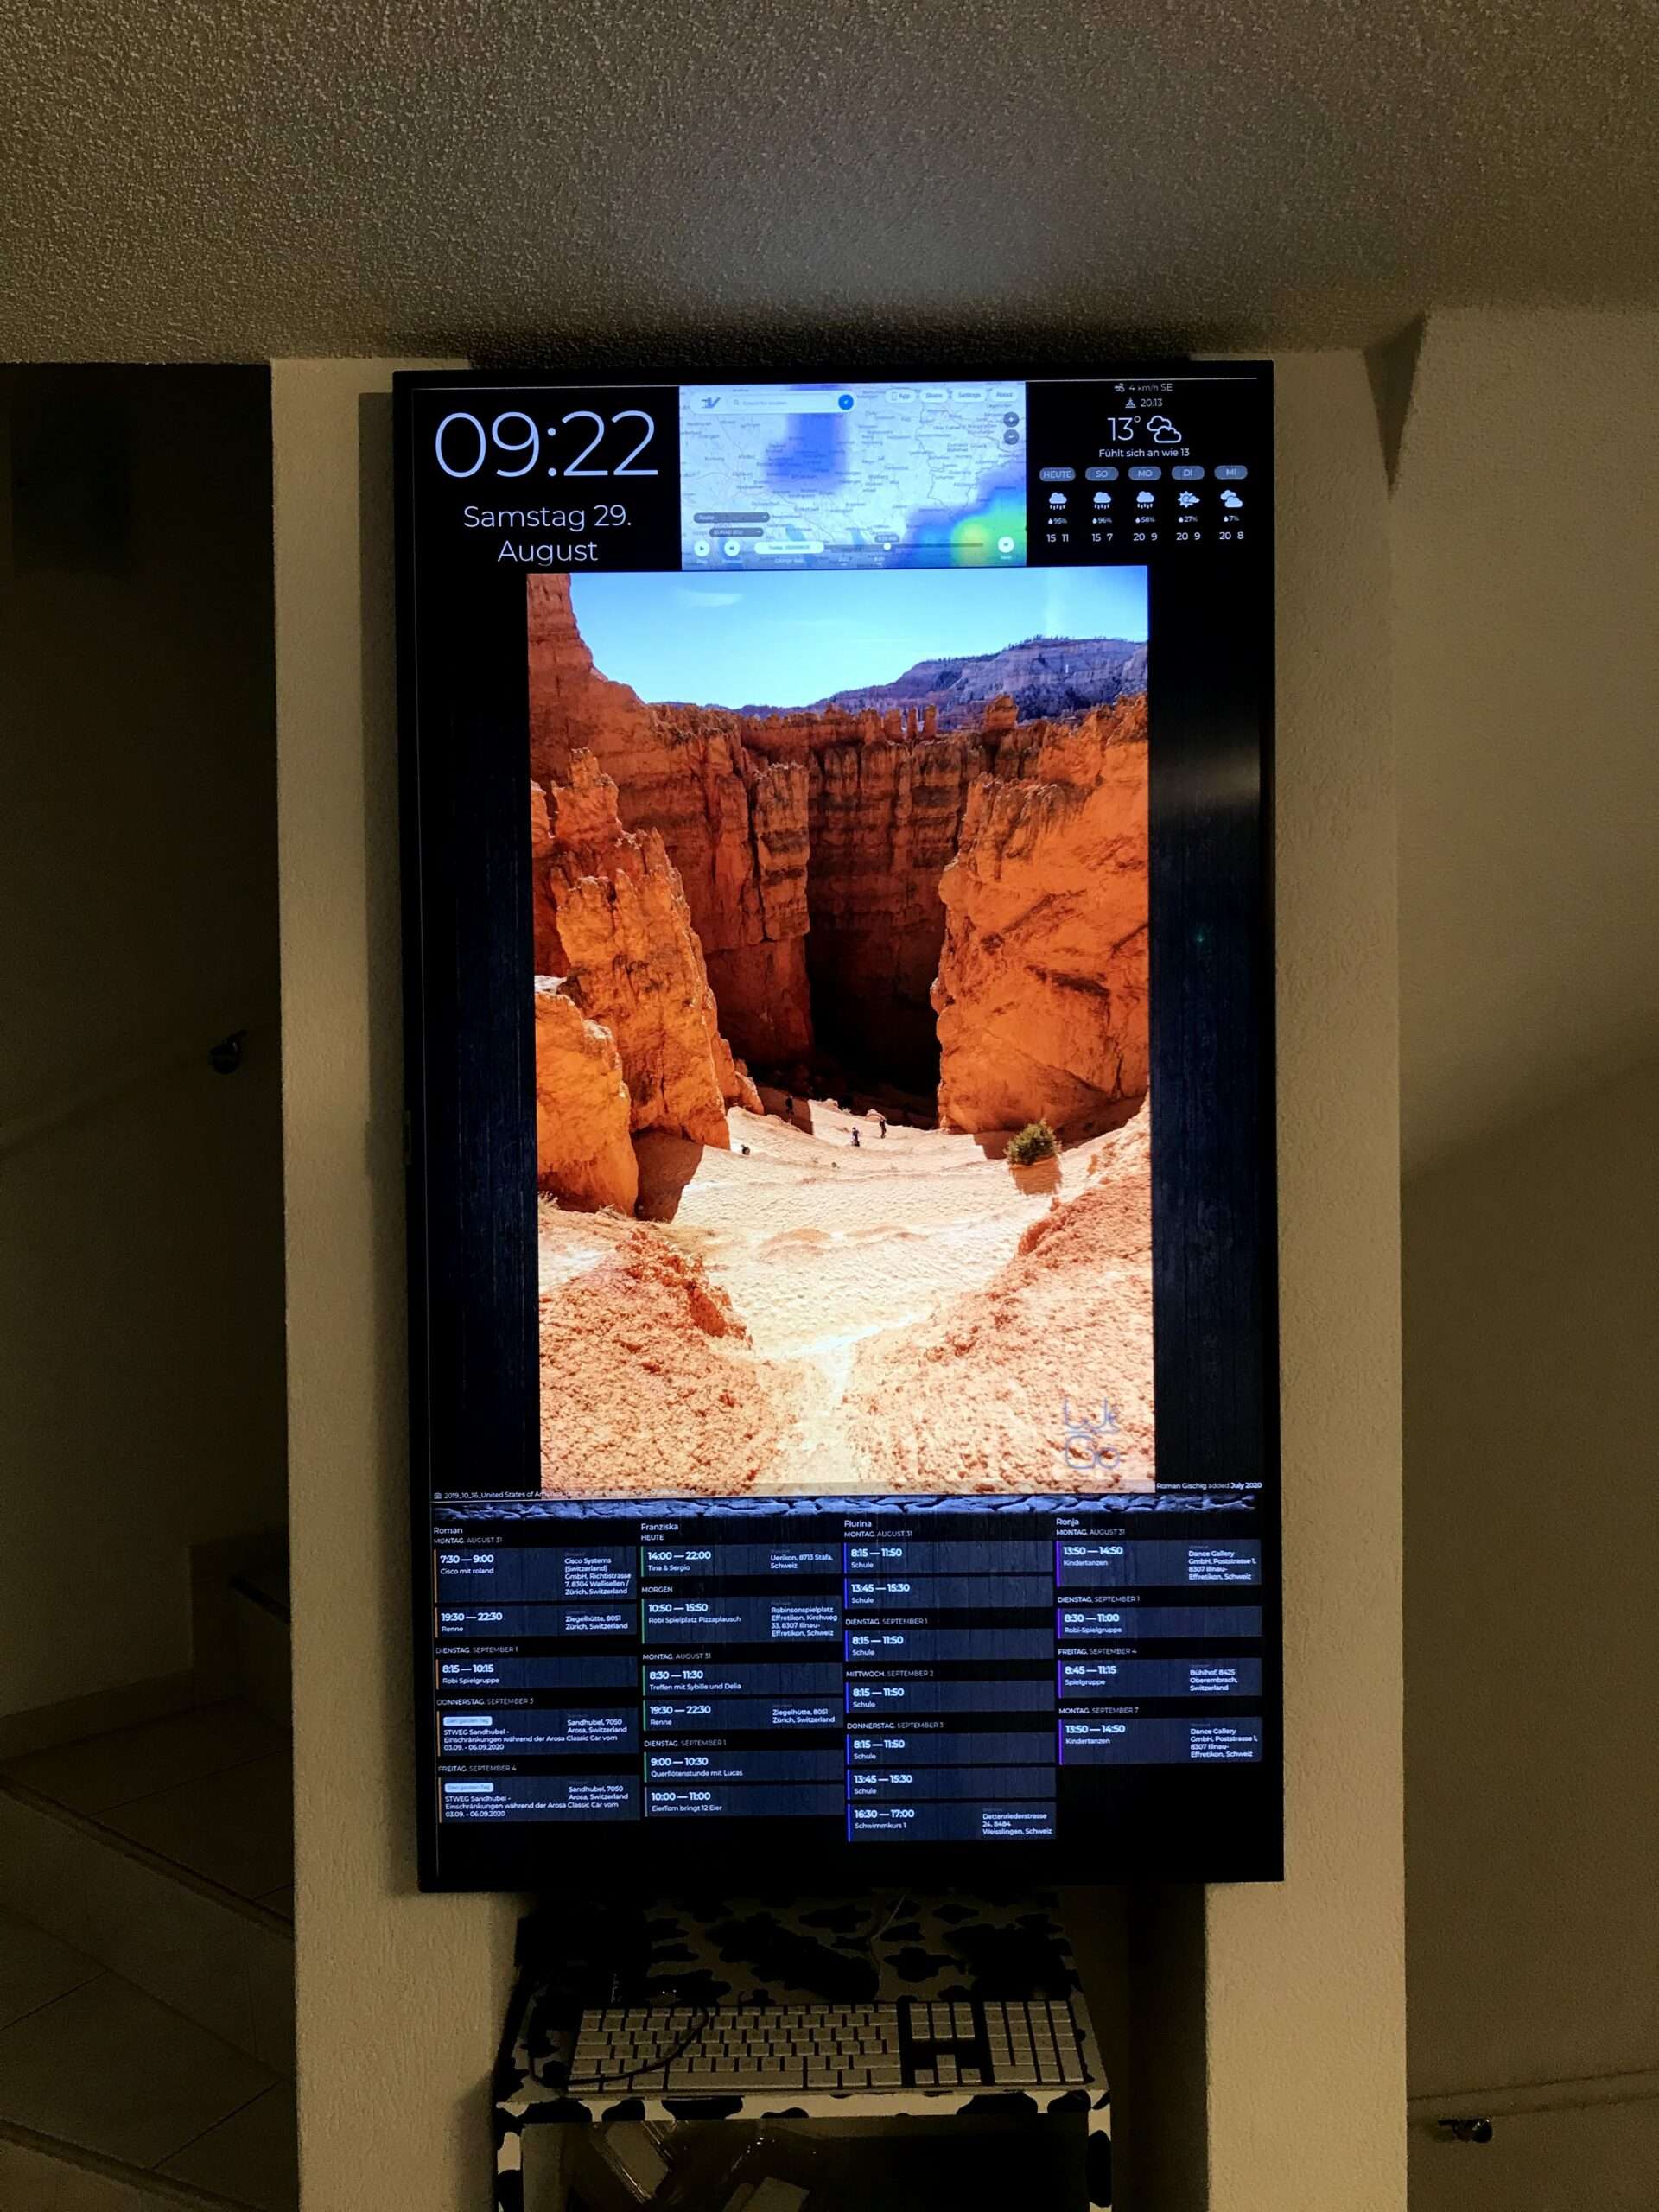
I had an idea to place a large screen in the dining area to display our travel images, calendar information, time, and the weather… So after our travels, it was finally the time to do so.
Step 1: convincing my wife
Difficulty Level: 3 (1 – 10)
The hardest part was to convince her to use a digital calendar. She already used Google Calendar for her appointment, but did not do so for the kid’s appointments. So we sorted out a schema so both of us can enter a new appointment into any of the other calendars, we settled on a color per person. The calendar was a convincing fact. She also loved version one of the Picture Frame so making it bigger was not so much a problem. The position in the room was becoming pretty clear as well, as there was only really one place.
Step 2: The screen
Finding a decent priced used screen, 55″, 4k, not too old and not too heavy and not too think. I placed a few bets on Ricardo.ch and finally, I got a Samsun 55″, 4k screen which was 18 months old for CHF 320.-. I thought this was a good price.
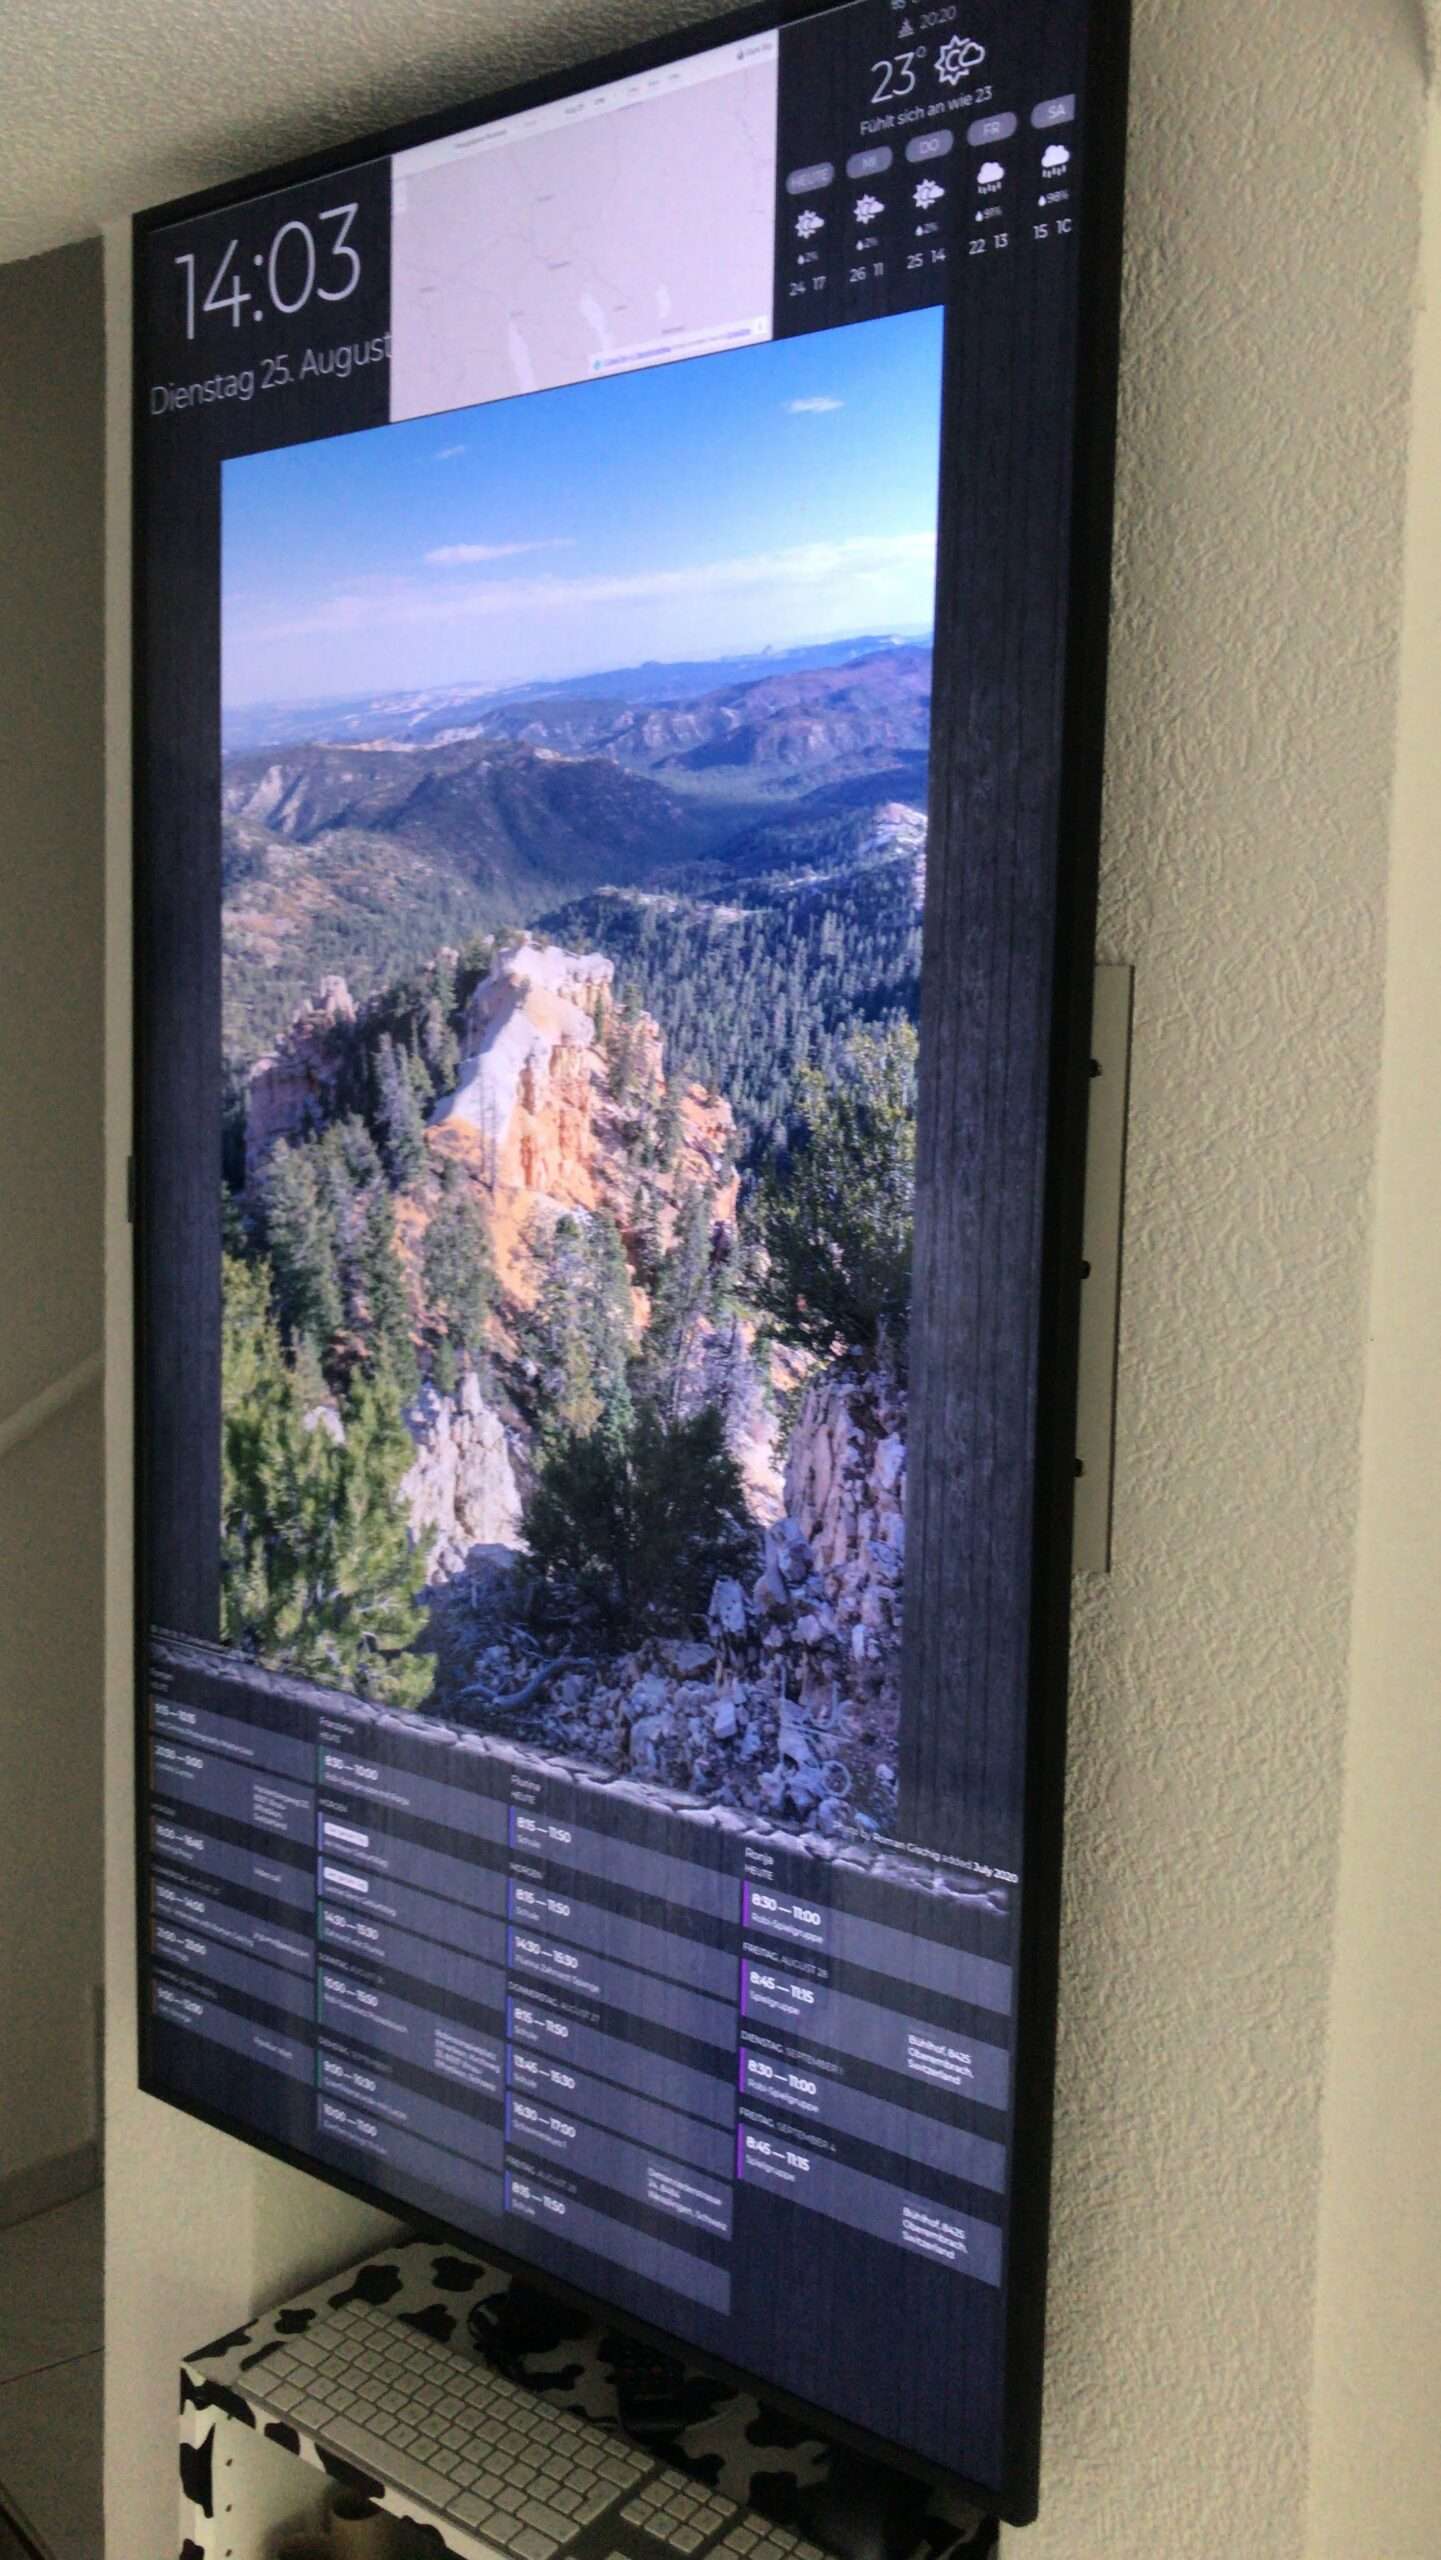
The screen being more than 43″, I had to mount it into portrait mode. You can argue that a screen turned is really good to display mostly wide images, but it left room for other information, like calendar and weather.
Step 3: Mounting the screen
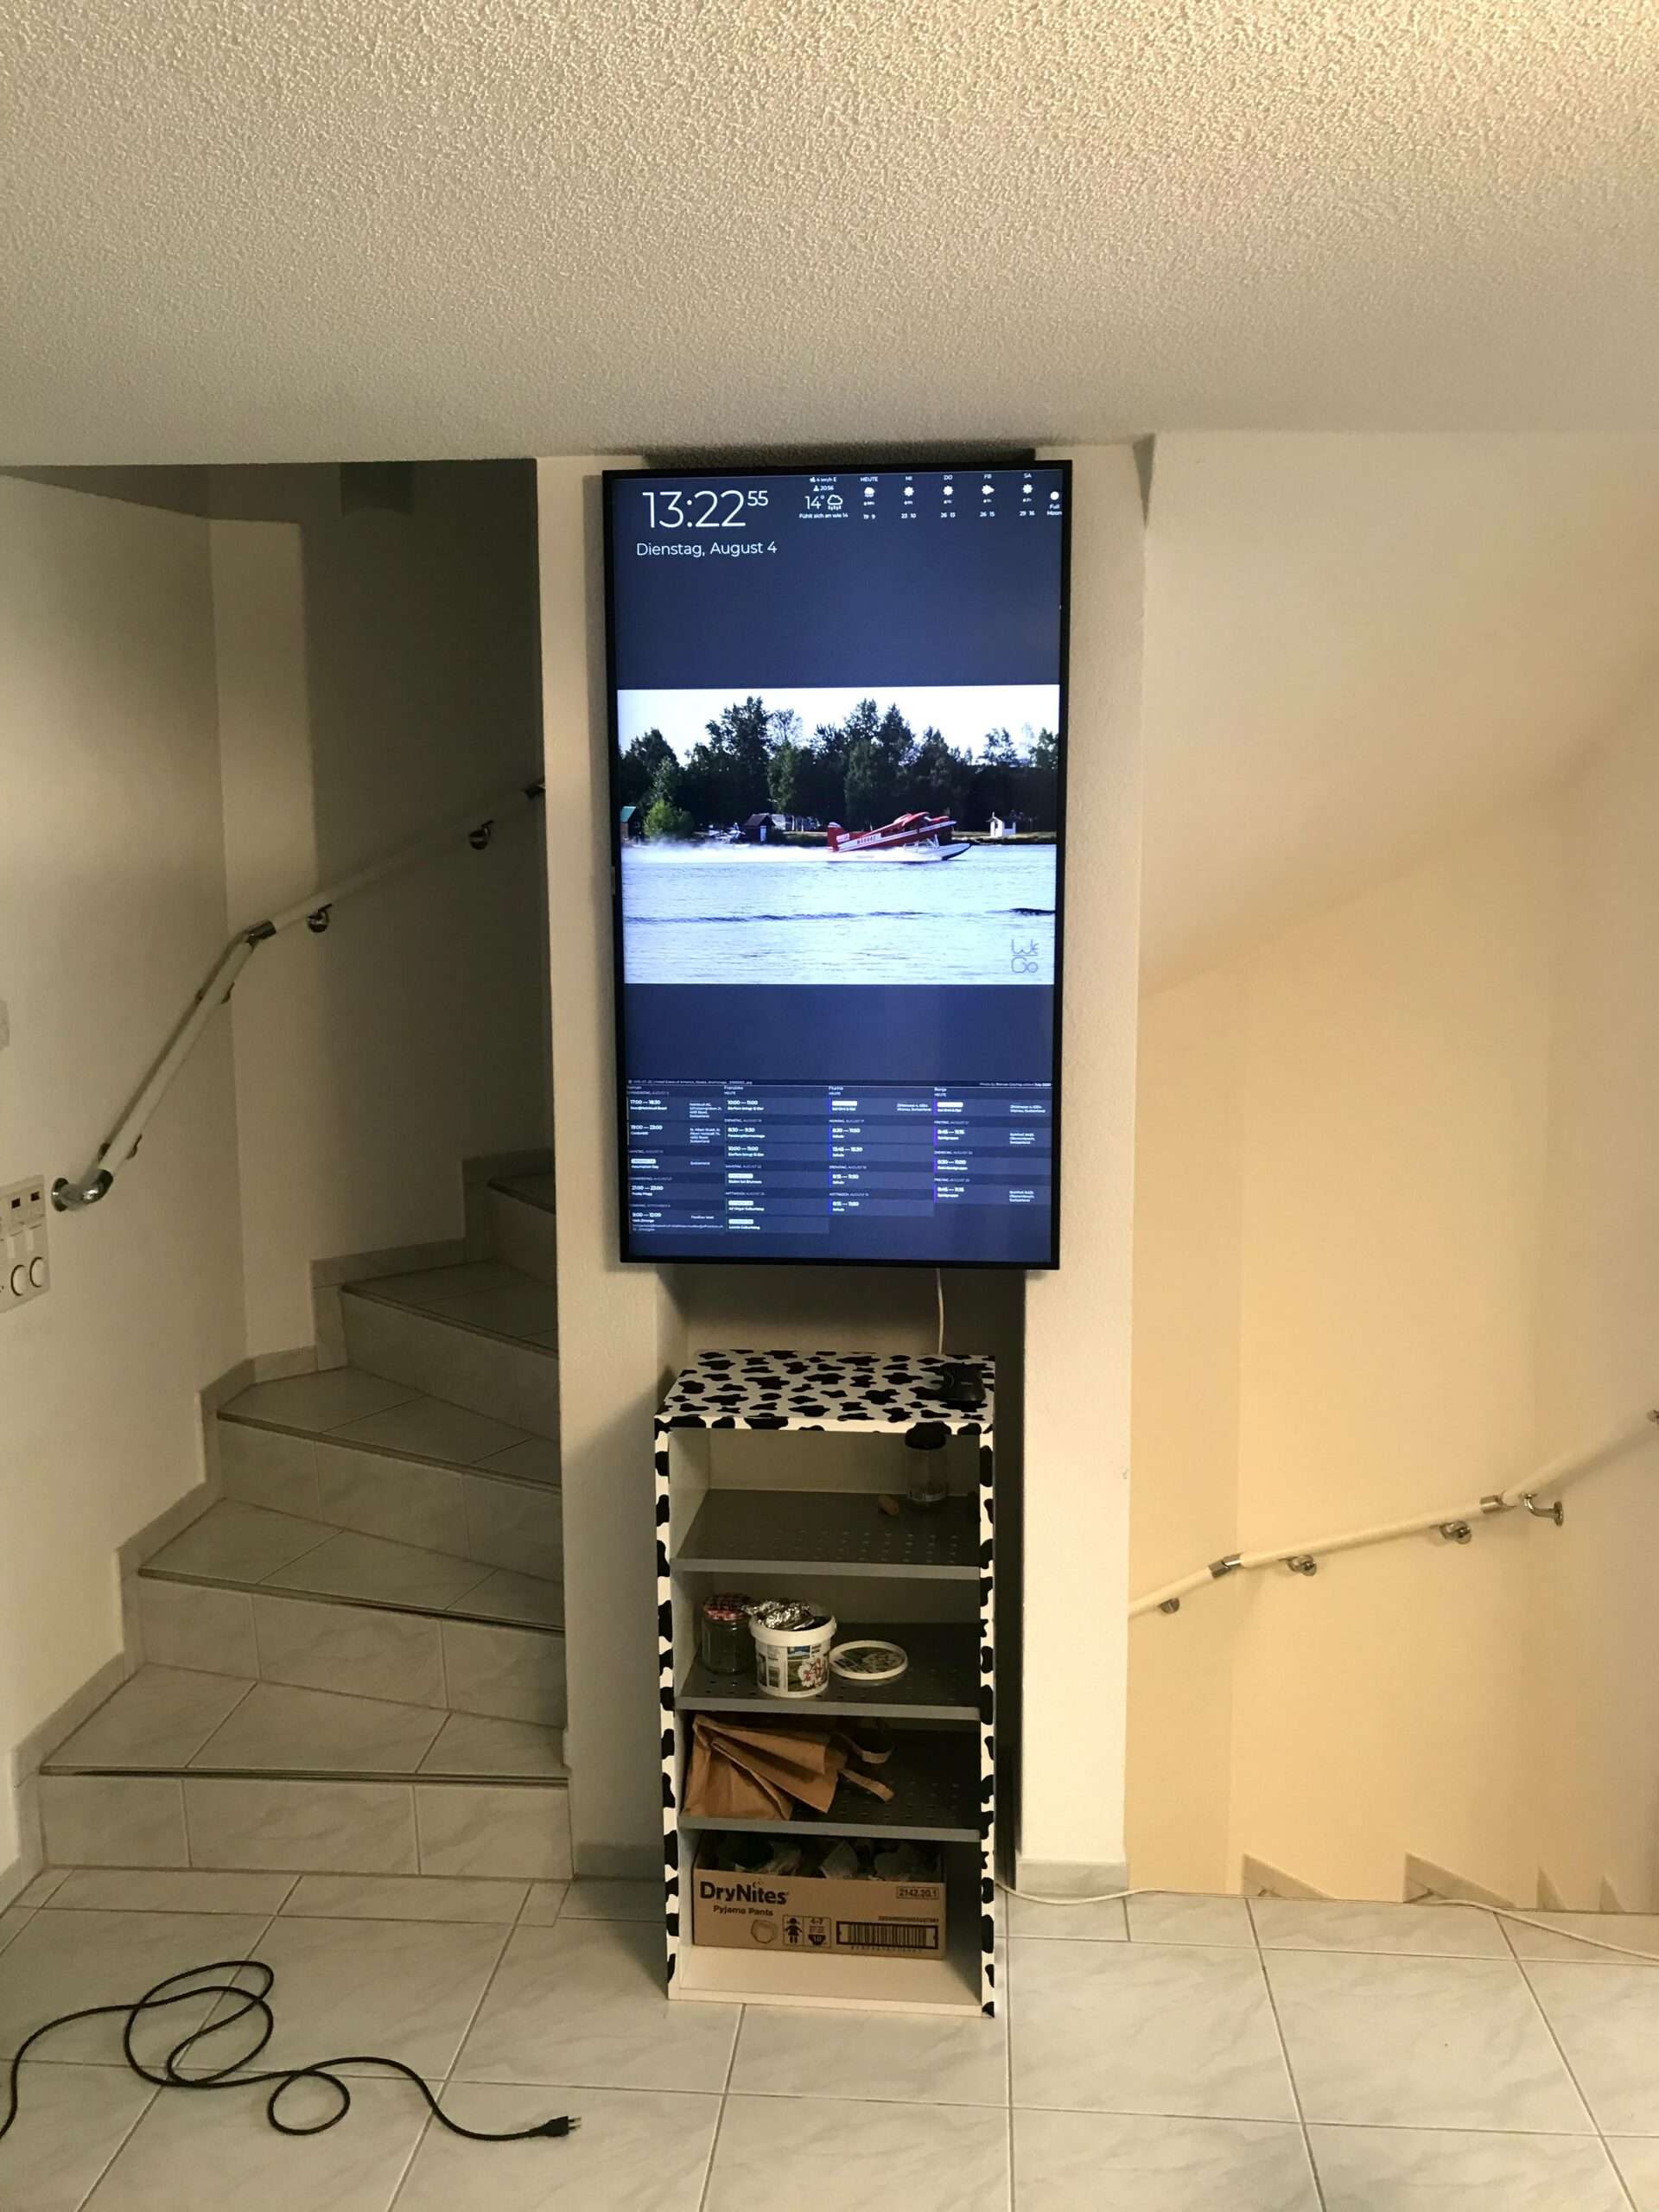
Since the screen had to be mounted in between the two pillars of the stairs, I had to come up with some ideas. Getting a VESA mount was an option, but mounting the VESA mount so far apart, it did not work so well. So I was thinking about a piece of wood mounted to the two pillars, and then attach the screen to the wood. I went to the OBI (Hardware shop), and found a thin piece of very stiff 6mm MDF which was just perfect for my project. Thin, white and stiff, to hold the 16kg of the screen. I drilled 3 holes on each pillar and pre-drilled the 4 holes for the VESA mount. With some help of my wife, we mounted the screen once, and it’s still hanging.
Step 4: Technologie
I wanted to use my Raspi4 which I already had for the Picture Frame. So I had a “PC” which was able to display something. I am able to send commands to turn the screen on/off when I don’t need it. Further I can use the IO ports to make more fun stuff, like attaching a motion sensor or so…
A good guide can also be found here
On the Raspi I have two bash scripts to turn on/off the screen
Update: I’ve now used the latest 64bit version of the RaspiOS, so far all looks good, and I think it even runs a bit faster…
Install the required package
sudo apt-get -y install cec-utilscrontab -e0 18 * * * echo 'standby 0' | cec-client -s -d 1
0 8 * * * echo 'on 0' | cec-client -s -d 1X Server configuration
I turned the X server with the on-board graphical tools, so no special tweaks here. I start up the X session and then initiate the chromium to start up with a local HTML file.
<html>
<body style="height: 100%; width: 100%; margin: 0px; padding: 0px; overflow: hidden;">
<iframe src="https://www.dakboard.com/screen/uuid/key" style="position: absolute; height: 100%; width: 100%;">
</iframe>
</body>
</html>
Autostarting all the things
Edit this file
sudo nano /etc/xdg/lxsession/LXDE-pi/autostartAutostarting everything in sequence
@lxpanel --profile LXDE-pi
@pcmanfm --desktop --profile LXDE-pi
@xscreensaver -no-splash
@xset s 0 0
@xset s noblank
@xset s noexpose
@xset dpms 0 0 0
unclutter -idle 0.5 -root &
point-rpi
chromium-browser --noerrdialogs --disable-infobars --kiosk /home/rgischig/Desktop/DAK.html
Step 5: How to display all my ideas…
Integrating the calendar, images, weather, time in a nice way does not sound too easy, but there was help: Dakboard
An easy web-based designer to assemble all the content I was looking for in a matter of minutes. Sure it took a lot longer to tweak everything the way I wanted, but the initial setup was easy. I now pay 4$ a month for the service.
DaklBoard Integrations
- 4 Individual Google calendars
- we went for the “Schedule” layout, one for each person.
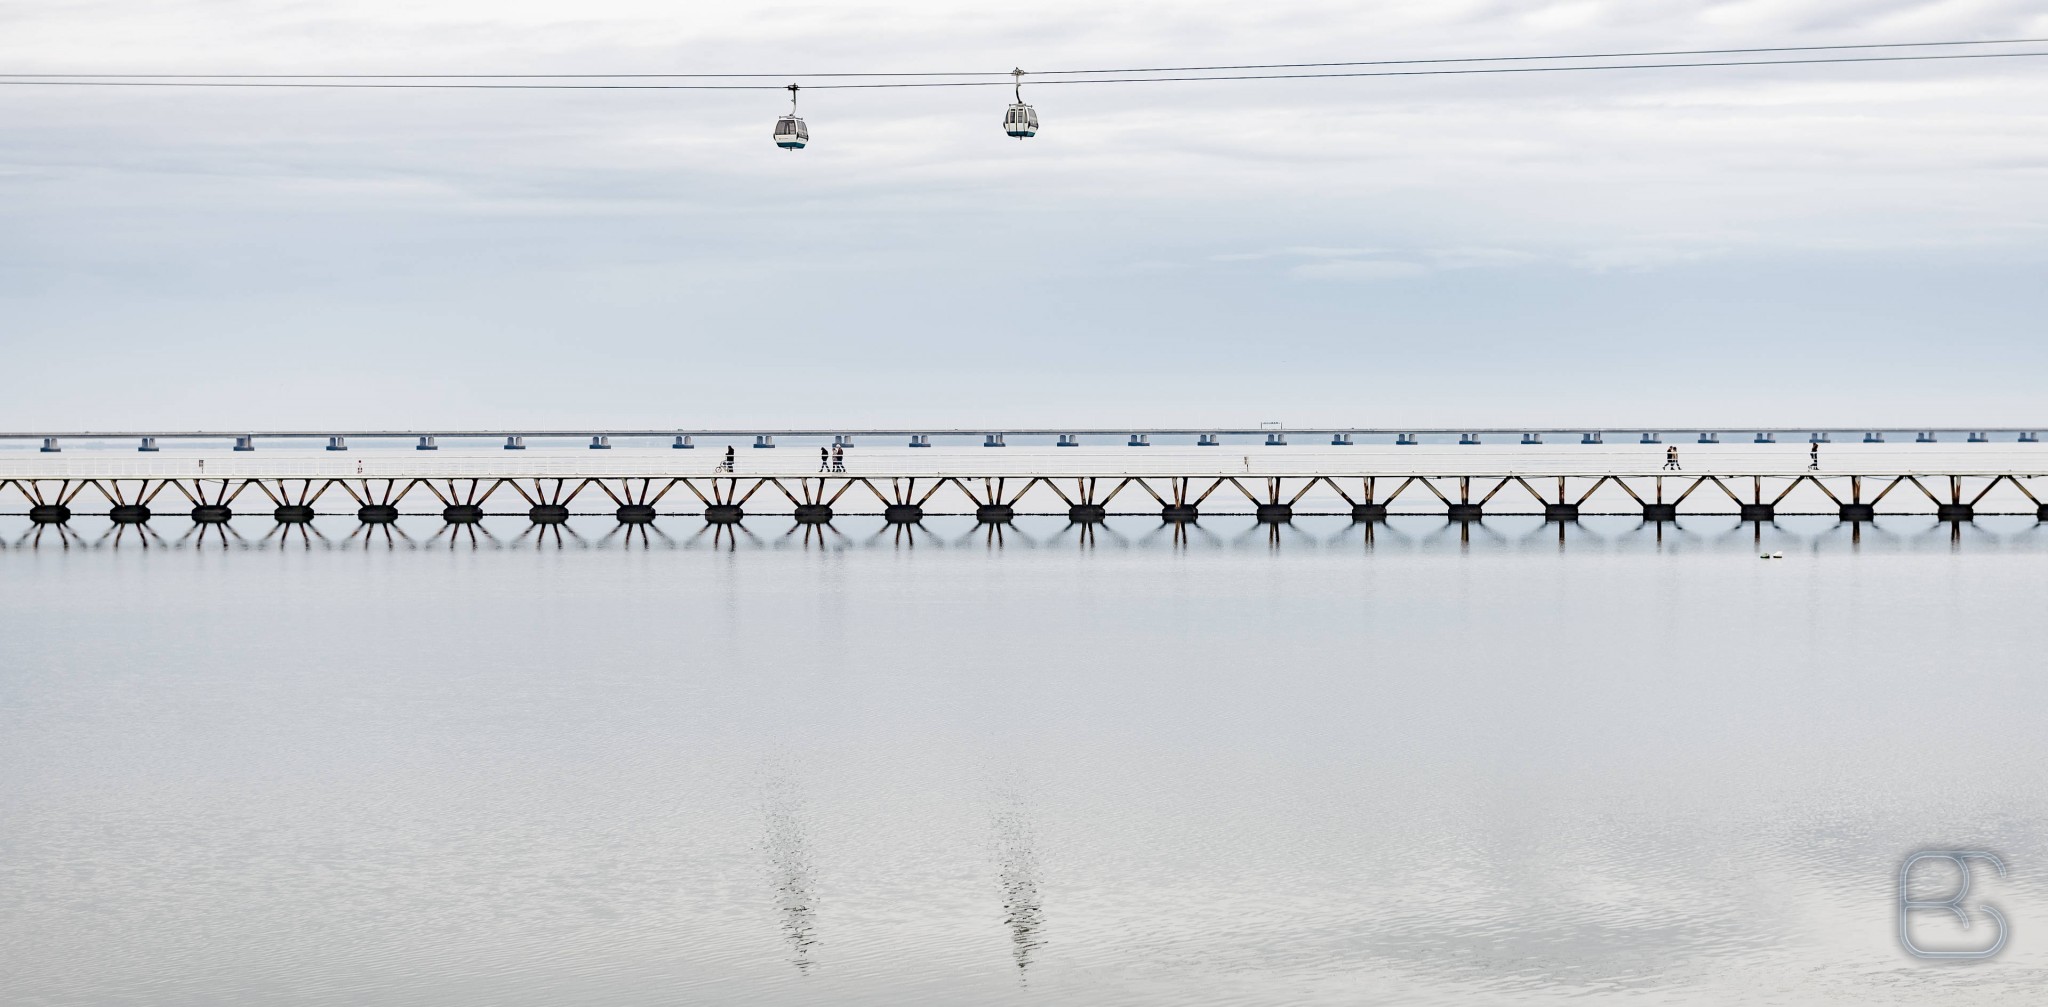
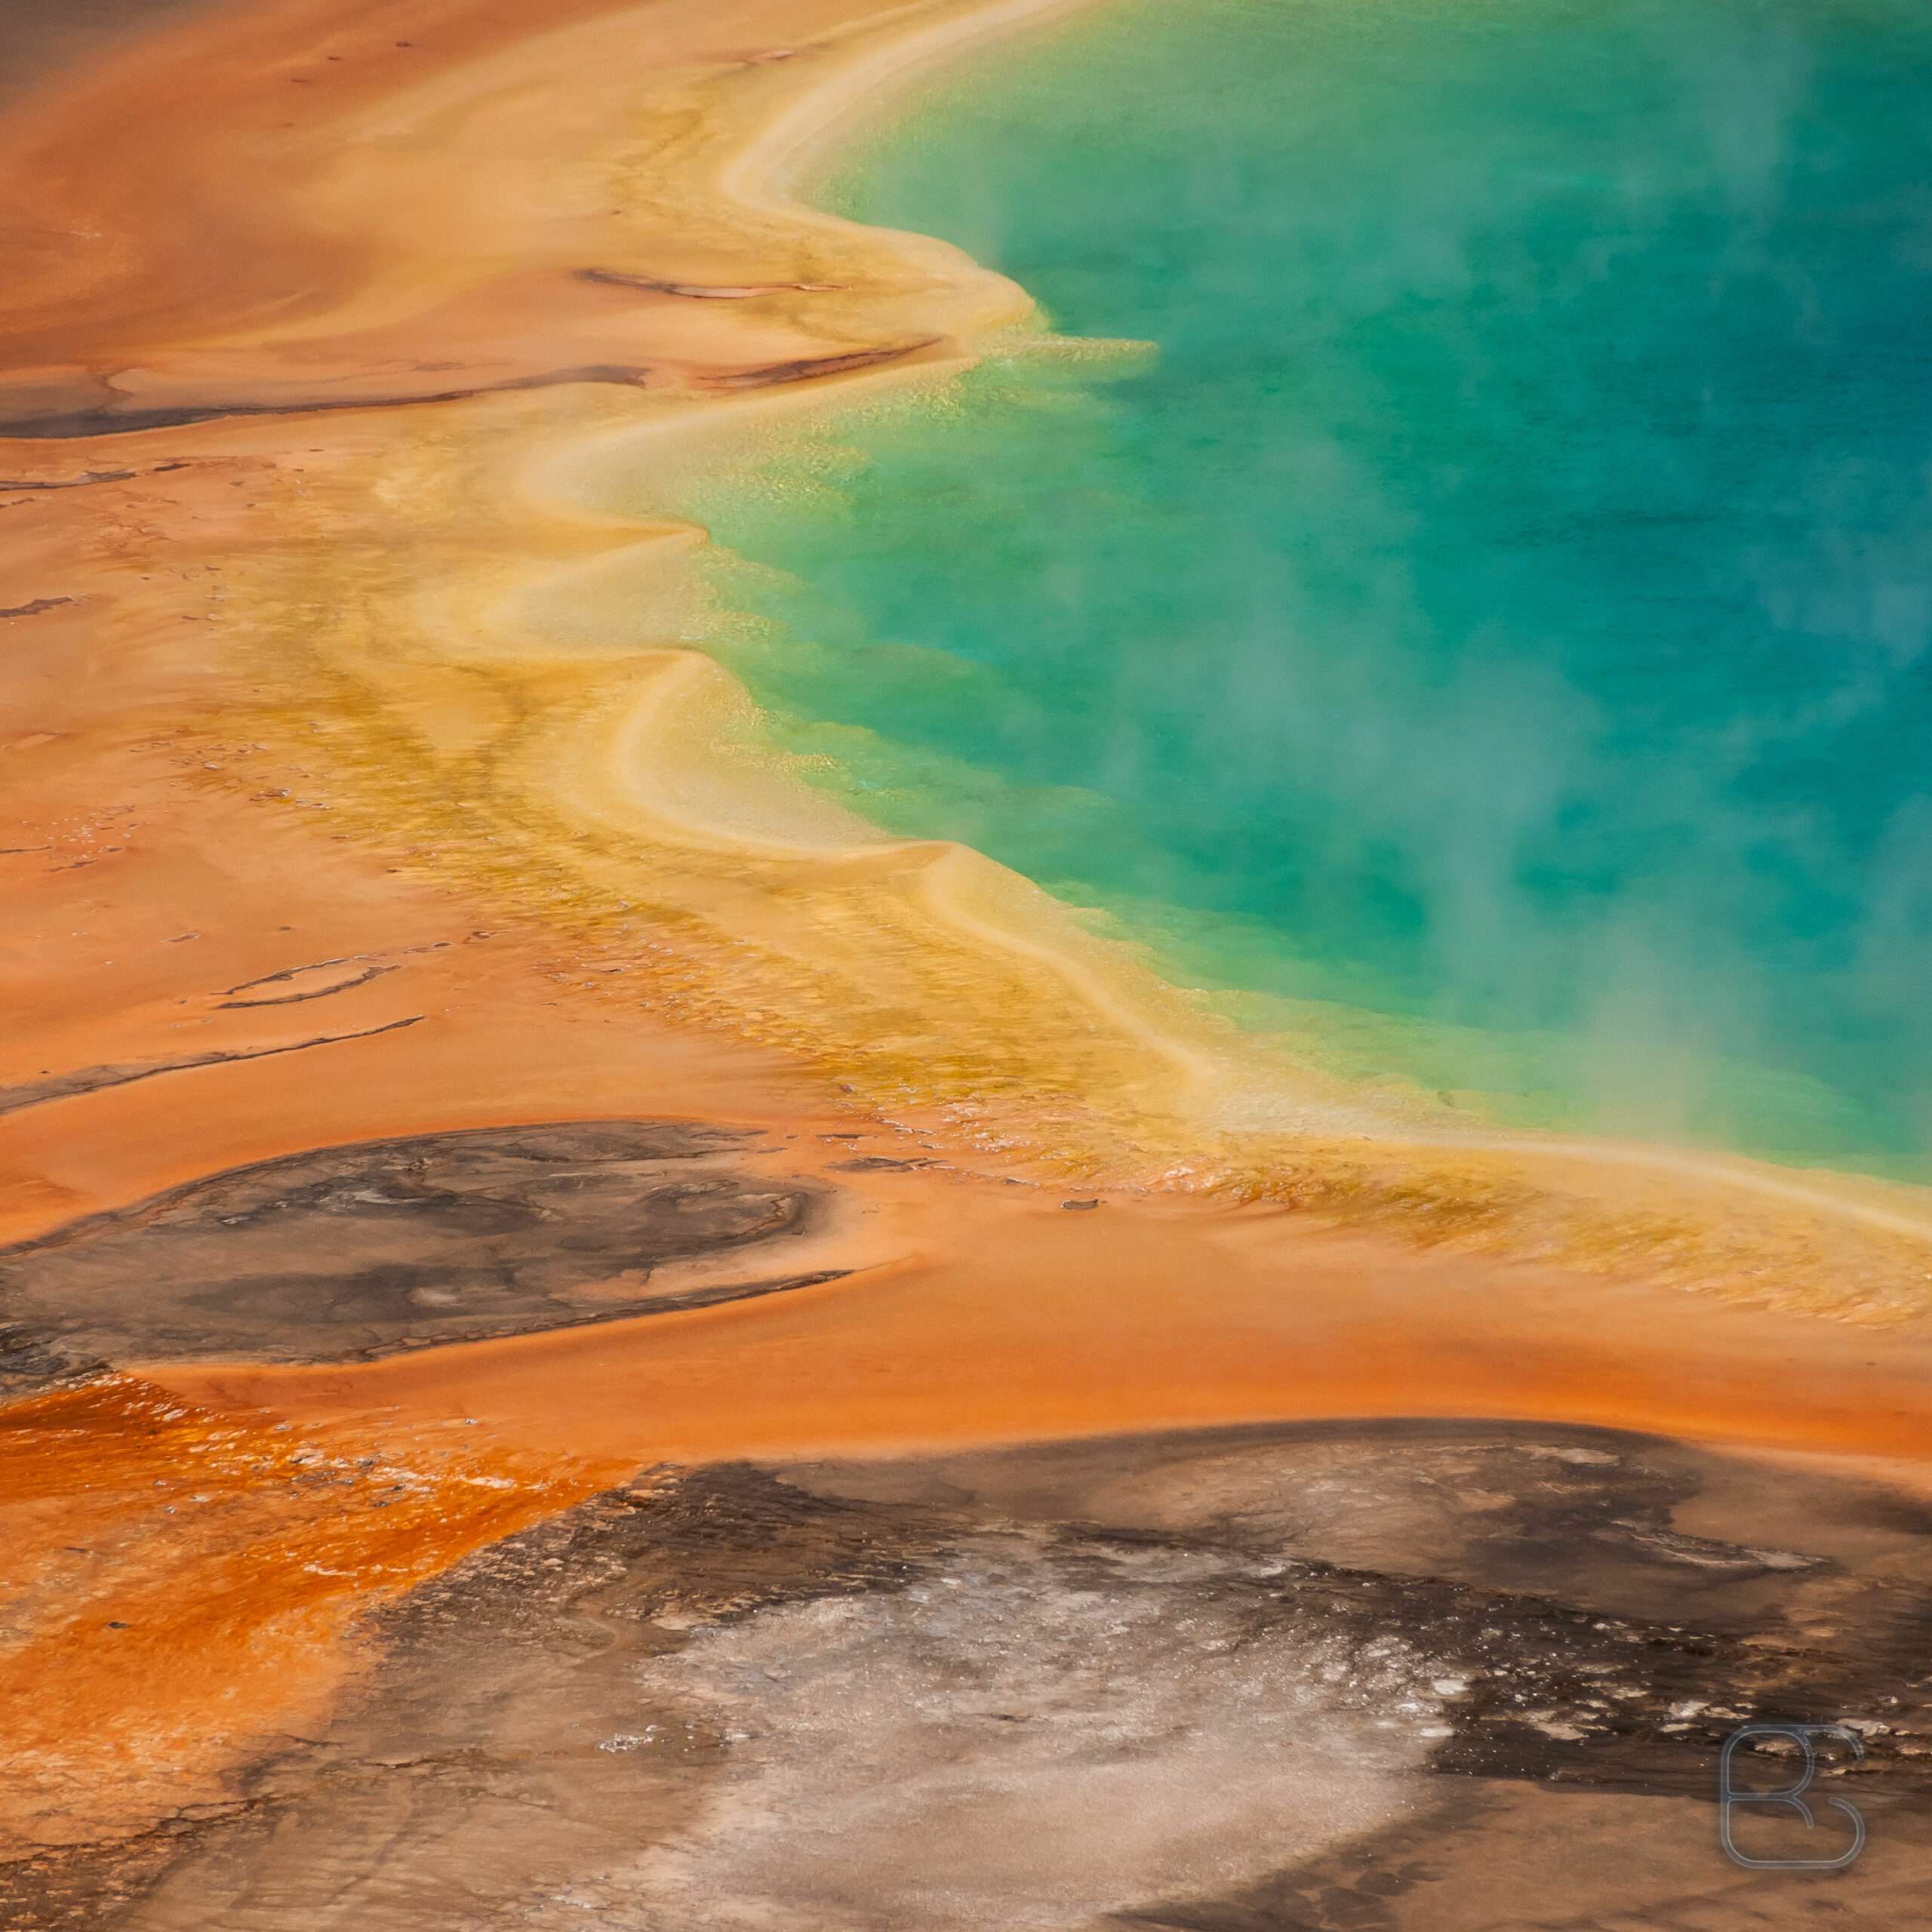
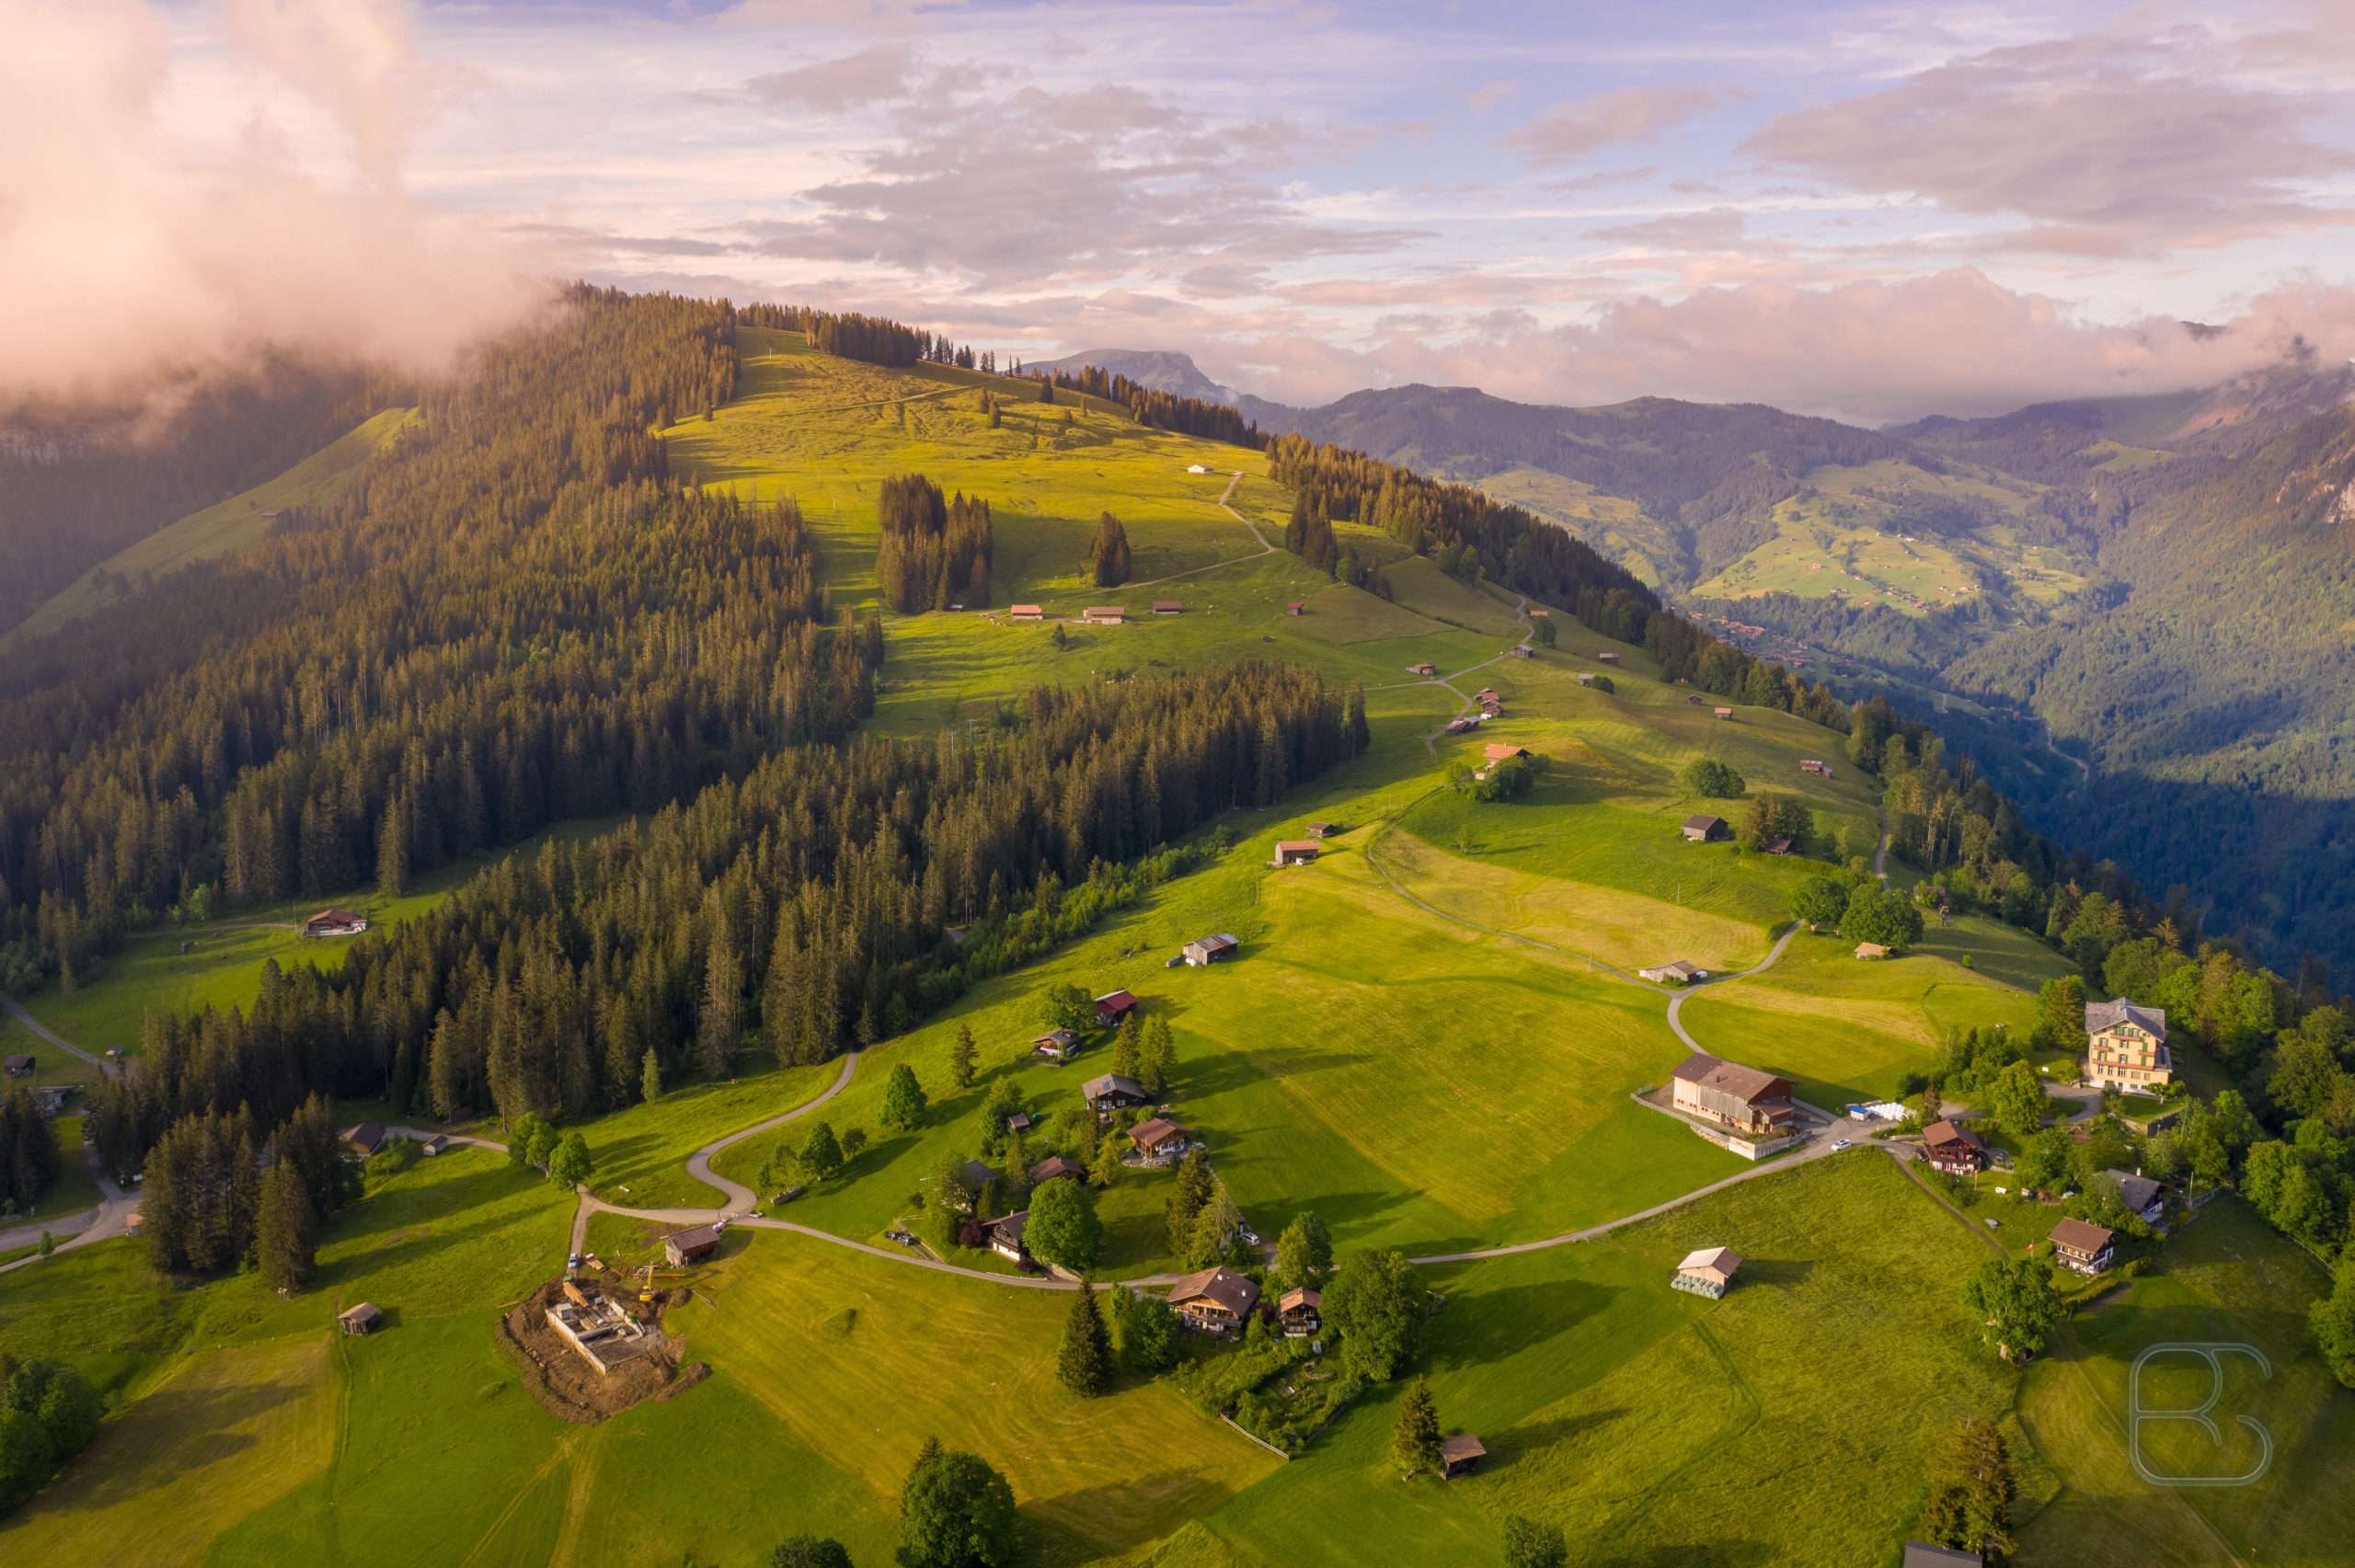
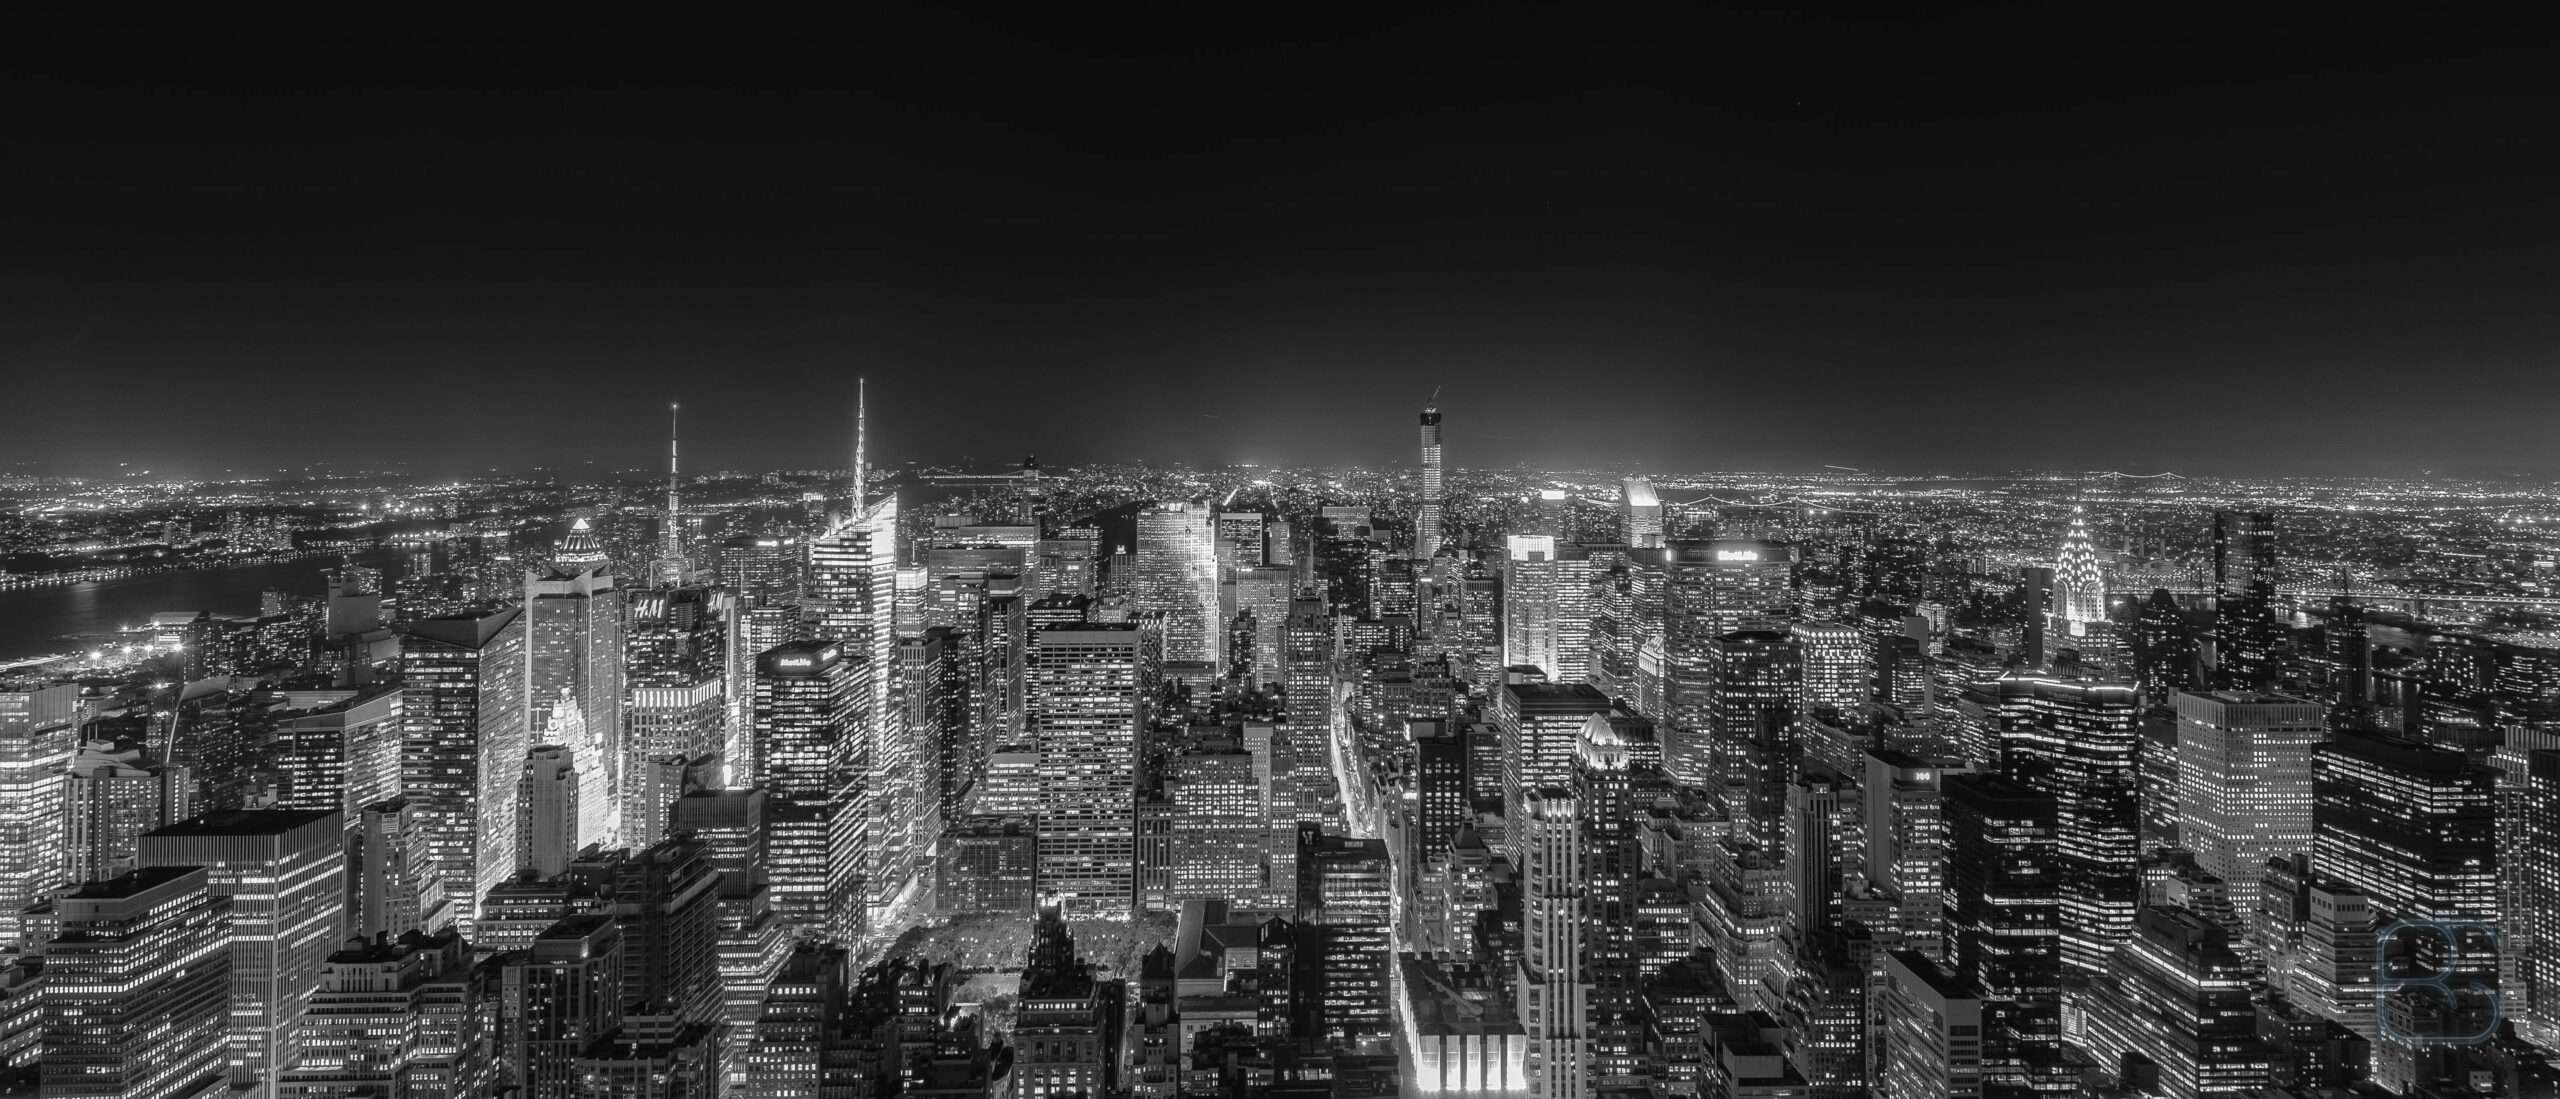
- Google Drive – 4500 Images in 4k resolution
- Time & Date
- 5 Days of weather forecast
- Rain radar – Ventusky as iFrame
- finding a rain radar image which can be placed into an iFrame without the rest of the website, did not turn out easy, but Ventusky does a good job with a “static URL” https://www.ventusky.com/?p=47.437;8.713;10&l=radar&m=eurad&w=dark to display the right location. Updating the frame every 10min by DAKboard updates the weather.
- Background: I created a black wooden background in 4k resolution.

Final product:
We enjoy the images every time we have food or walk by, I can really recommend something like this!