Hi Guys,
Let me explain the process on how to create such a star-trail:

Weather?
- You need a dark night. Make sure that there is no Moon shinging into your lense, else it could look like this…
- Aim for a clear sky, some clouds could look fancy… try it out!

- Aim for a “dry” sky, which means that the moister in the air should be low, go to the mountains or shoot in winter…
Location?
- Find a spot for your camera where is no light shining onto your lens, for example a streetlight or a distant spot light. This can cause reflections in your lens and spoils your image
- Depending on your scene try to stay away from a city with lot’s of “air-pollution”. This does light up your background and the stars are hard to see. Also try to avoid a location where you have a lot of air traffic… you can clean it out afterwards, but it’s a timeconsuming task.

Photo Gear?
- Load your battery (or multiple..)
- Bring along a good Tri-Pod for your camera
- Interval timer, or use the built-in interval timer
- Your Camera with a large and empty SD card (32G or so)
- Clean your lens
- Use a wide-angle lens or fisheye, the wider the better
- Compass (or your smartphone) to find the north star or know the sky and find the north star by yourself (only if you desire to get a circular star-ring)
- Your iPod/mobile phone, a friend or something you can spend an hour+ waiting for your images.. Maybe also some snacks or hot tea
- Flashlight or headlight to set up everything and walk around. Or to light up the foreground in case this fits your composition
- I have also bought a Eye-Fi SD card connected to my Phone/Tablet, to check if the images are still ok, or of the camera is on the ground to test the setup. This is pretty handy, but drains your battery of you camera & mobile phone quite a lot. So use it with care
- Something to clean your lens, in case you get moist, or ice on it
Camera Settings?
Which camera settings do you need to setup?
- Place your Tri-Pod on stir ground (and maybe load/stabilize your Tri-Pod) and mount your camera and plug in your interval meter
- Set the mode to “Manual”
- Set the time to “Bulb”, so the interval timer takes care of the release time
- Set the aperture to the lowest you can normally (f2.8 to f4 is normally not bad)
- Set the white balance to “Cloud” (make sure it’s NOT Automatic)
- Set the lowest ISO you “can”. With the ISO you can adjust your sensitivity, I try to stay below ISO200 with my D600. The higher you go, the more noise you will get. This is critical for a cool image, as we will change a lot in Lightroom later…
- Set the image quality to RAW. This is essential, as the JPG compression generates artifacts with false image pixels… this will result into “false stars” later
- Zoom: either you cannot zoom… or use the widest you have, depending on your composition.
- Focus: this is the hardest part, I normally search a bright spot 20m away (can be lit up with your flash light) to focus, and then set the camera to manual focus, as the autofocus will not work once you point into the dark sky…
Now we are ready to go…
- Point the camera towards the north star. You will not see the north star in your viewfinder so try to point whatever you think could work
- Set the time to about 2minutes on your interval meter, and shoot a single shot
- Verify the composition and adjust in needed
- Check the exposure of the stars, they should be bright, but there is still options later, check also the foreground (or you are doing a separate image for the foreground)
- Check the sharpness of the stars, if needed refocus
- Now all is ready to shoot.
- Set the interval meter to infinite amount of images
- Wait and enjoy the sky… talk or just look into the sky and listen to Pink Floyd
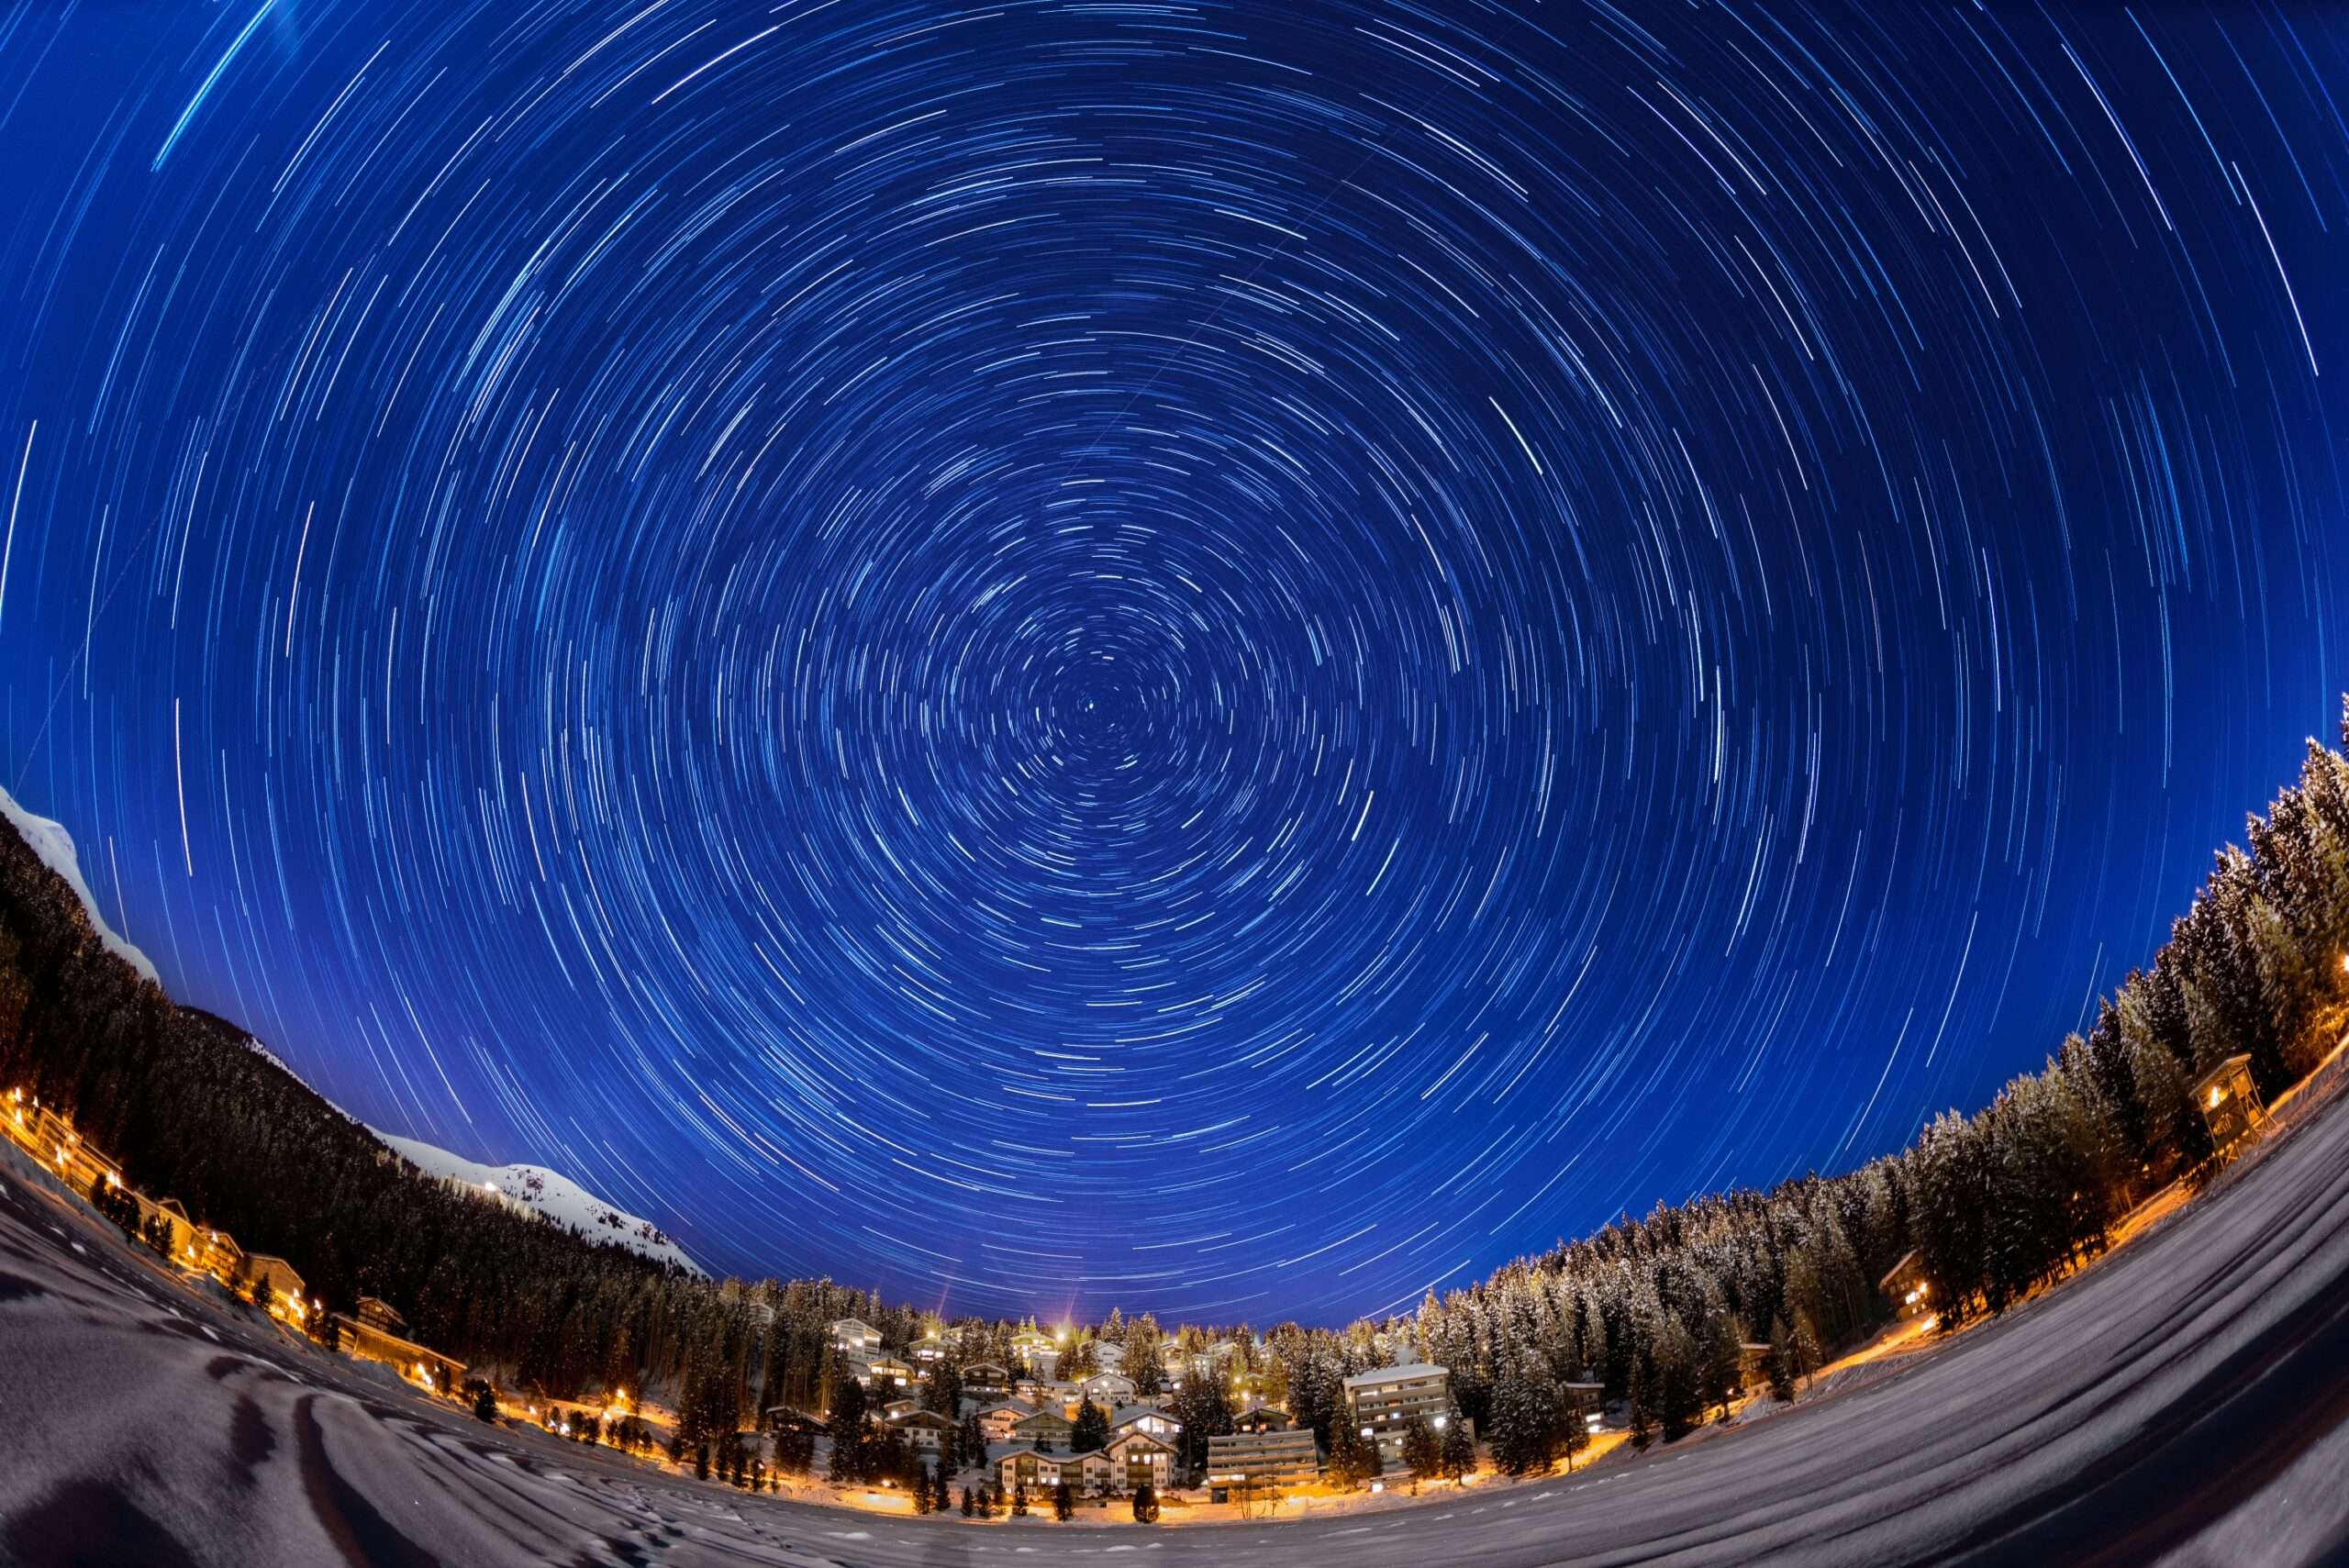
- I figured out that a one hour shooting is giving a good result (like in the post below), longer is not always better..

Once you are done shooting
- Clean up the scene, do not leave any garbage behind…
- Have a save trip back home
- Copy all your RAW images onto your PC
Back home
- I’ve used Lightroom to edit the images. Create a preset in order to apply it to all the images for the sky
- Adjust the white balance, exposure, whites and whatever you think is needed
- Export all the images to JPG
- Use the startrail-stacking-tool to stack the images into a single one. Many would ask why not doing it in Photoshop or so… I think it’s a lot faster this way, but if you prefer Photoshop or Gimp, go ahead staking them there (blend more lighter is required)
- Now you have the “sky” image and you now need the foreground image
- Take one of your shots, or a separate image with a different exposure (normally brighter) to craft your foreground
- Go into Photoshop, and layer the two images on top and blend between the two until you are happy with the result…
You are done 🙂