Hi All,
A few weeks back a friend of mine showed me the OpenEnergyMonitor project. I got very much interested installing a few power meters and temperature sensors around the house.
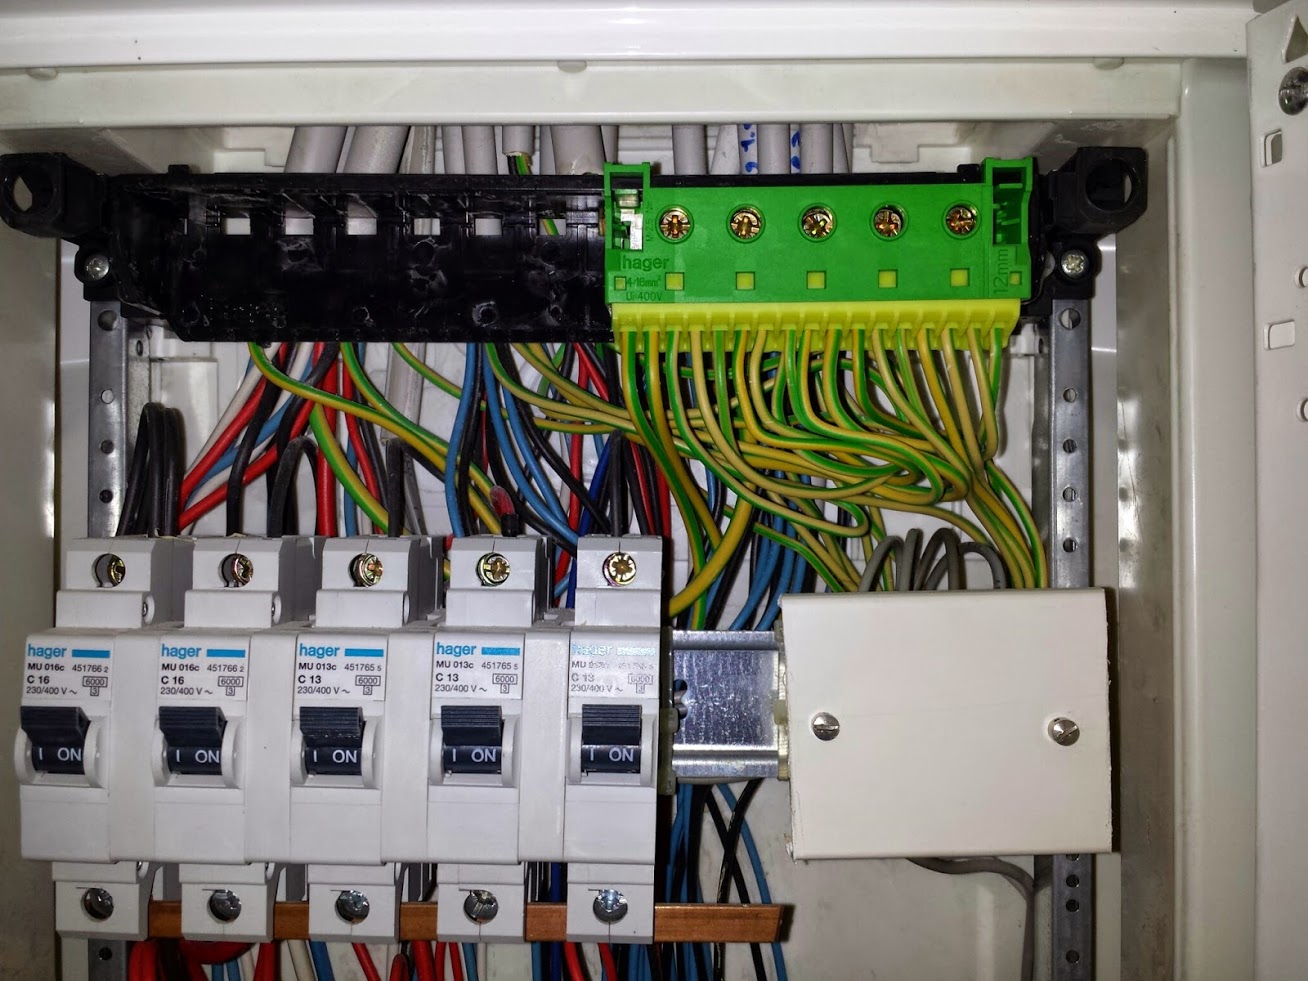
First I had a look into my power-distribution panel in my basement to judge if there is enough space to place these current sensors. I think I’m fortunate to have enough space in the cabinet.
The next topic was the frequency of which the devices should communicate. 868MHz or 443Mhz. As most devices are using the 443 MHz band, we decided to go with the calmer 868MHz.
So we decided to order a few things… 🙂
One Rasberry Pi with the 868Mhz revicer
emonBase – Raspberry Pi web-connected base-station
(RaspberryPi RF add-on: RFM69Pi – 868Mhz, Raspberry Pi: Raspberry Pi Model B+, Pre-build SD Card: Pre-Loaded microSD Card, Enclosure: Raspberry Pi Model B+ Case, Power Supply: Euro Plug – 5V DC USB Power Adapter, Power Supply Cable: 2m Micro-USB cable, Network Adapter: USB WIFI Edimax EW-7811UN)
RFM69Pi 868Mhz Raspberry Pi Base Station Receiver Board
2x emonTX V3 with the 868MHz transceiver and 8 current sensors
emonTx V3 – Electricity Monitoring Transmitter Unit
(RF Module: no RF, Node ID : 10 (default), Enclosure: Fully Assembled, Clip-on CT Current Sensor: 1 x 100A Max Clip-on CT Sensor (additional sens…, AC Power Adapter: Euro Plug, Temperature Sensor: RJ45 Encapsulated DS18B20)
(RF Module: no RF, Node ID : 9 , Enclosure: Fully Assembled, Clip-on CT Current Sensor: 1 x 100A Max Clip-on CT Sensor (additional sens…, AC Power Adapter: Euro Plug)
1x emonTH
emonTH 868MHz – Temperature & Humidity Node
(Case: emonTH Case, Sensor: DTH22 – Temperature & Humdity )
After a few days we had the stuff in our mail, and where able to get started.
emonCMS setup
As I’m running a Ubuntu server, I wanted to host the emoncms on my own server. The installation guide is pretty good, the only thing which caused some issues was the apache configuration which is specific to my setup.
Mainly the problem was AllowOverride All statement in the apache.conf file…and some security concern to open up all secure web sites for this.
Please note that the emonCMS is running on a secure site on my server. I had some concern that the emonhub on the Raspi has problems pushing to a secure site… but luckily my concern was not needed.
RasbberyPi setup
- the first thing I did was creating the flashcard for the Raspi, Using this procedure on windows. The Raspi booted up with no problem! I logged in and upgraded the image with apt-get update && apt-get dist-upgrade.
- Some modification was needed for the emonhub to work with my setup:
-
#######################################################################
#######################        Reporters        #######################
#######################################################################
[reporters]

# This reporter sends data to emonCMS
[[emonCMS]]
    Type = EmonHubEmoncmsReporter
    [[[init_settings]]]
    [[[runtimesettings]]]
#       url = http://emoncms.org
        url = https://cputoasters.com/emoncms
        apikey = xxxxx


#######################################################################
#######################       Interfacers       #######################
#######################################################################
[interfacers]

# This interfacer manages the RFM2Pi module
# This interfacer manages the RFM2Pi module
#[[RFM2Pi]]
#    Type = EmonHubJeeInterfacer
#    [[[init_settings]]]
#        com_port = /dev/ttyAMA0
#    [[[runtimesettings]]]
#        group = 210
#        frequency = 868
#        frequency = 433
#        baseid = 15

# This interfacer manages the RFM2Pi module
[[RFM2Pi]]
    Type = EmonHubJeeInterfacer
    [[[init_settings]]]
        com_port = /dev/ttyAMA0
        com_baud = 38400
    [[[runtimesettings]]]
        group = 210
        frequency = 868
        baseid = 15

#######################################################################
#######################          Nodes          #######################
#######################################################################
[nodes]

# List of nodes by node ID
# 'datacode' is default for node and 'datacodes' are per value data codes.
# if both are present 'datacode' is ignored in favour of 'datacodes'
[[10]]
       datacode = h
#        datacodes = l, h, h, h,
[[9]]
       datacode = h
#        datacodes = l, h, h, h,
[[19]]
       datacode = h
#        datacodes = l, h, h, h,
emonTH
The emonTH worked out of the box! No configuration changes needed.
emonTX
The emonTX v3 was ordered with the 868MHz band, so I had to solder on the transceiver. We had some questions which way around the module needs to be mounted, but pin1 (the antenna) is marked on both pcb’s.
From the Wiki page you see clearly how to solder on the transceiver:
Once the transceiver was installed, I powered up the emonTX by battery. To test the operation I installed the temperature sensor.
After a few seconds the data was shown on the emonCMS.


