Hey tech enthusiasts,
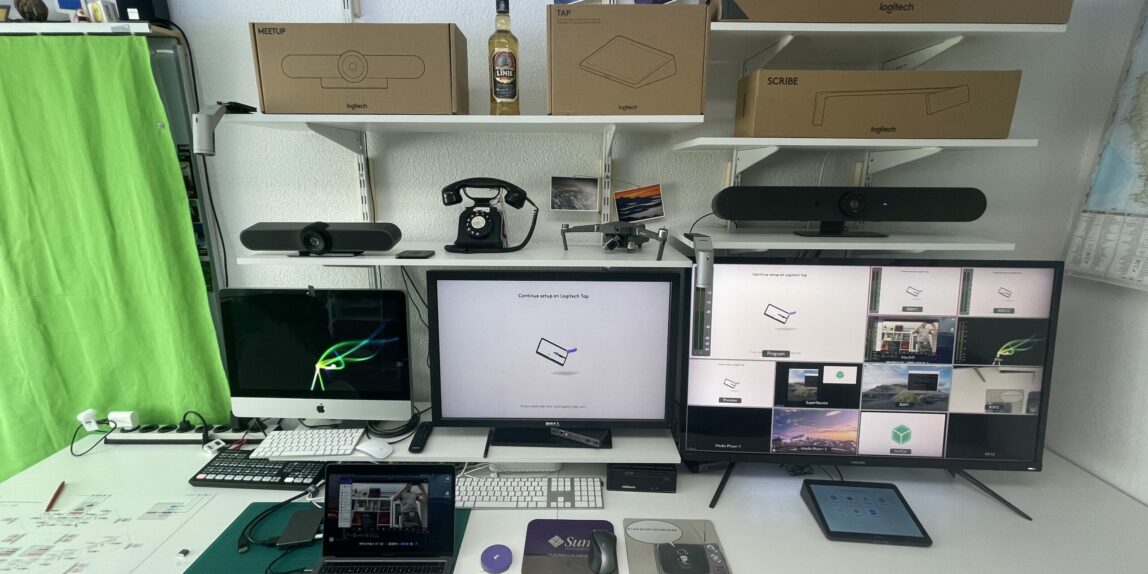
It’s hard to believe I’m already in my third year at Logitech, working as a Solutions Engineer in the B2B sector here in Switzerland. One of the perks of my role is having a state-of-the-art lab right at home. Yes, you read that correctly—my home office doubles as a sophisticated testing ground for all the latest and greatest in tech. If you’re curious about how I’ve automated most of it, check out my earlier posts on setting up the lab.
The Annual Cleanup: Tackling the Chaos
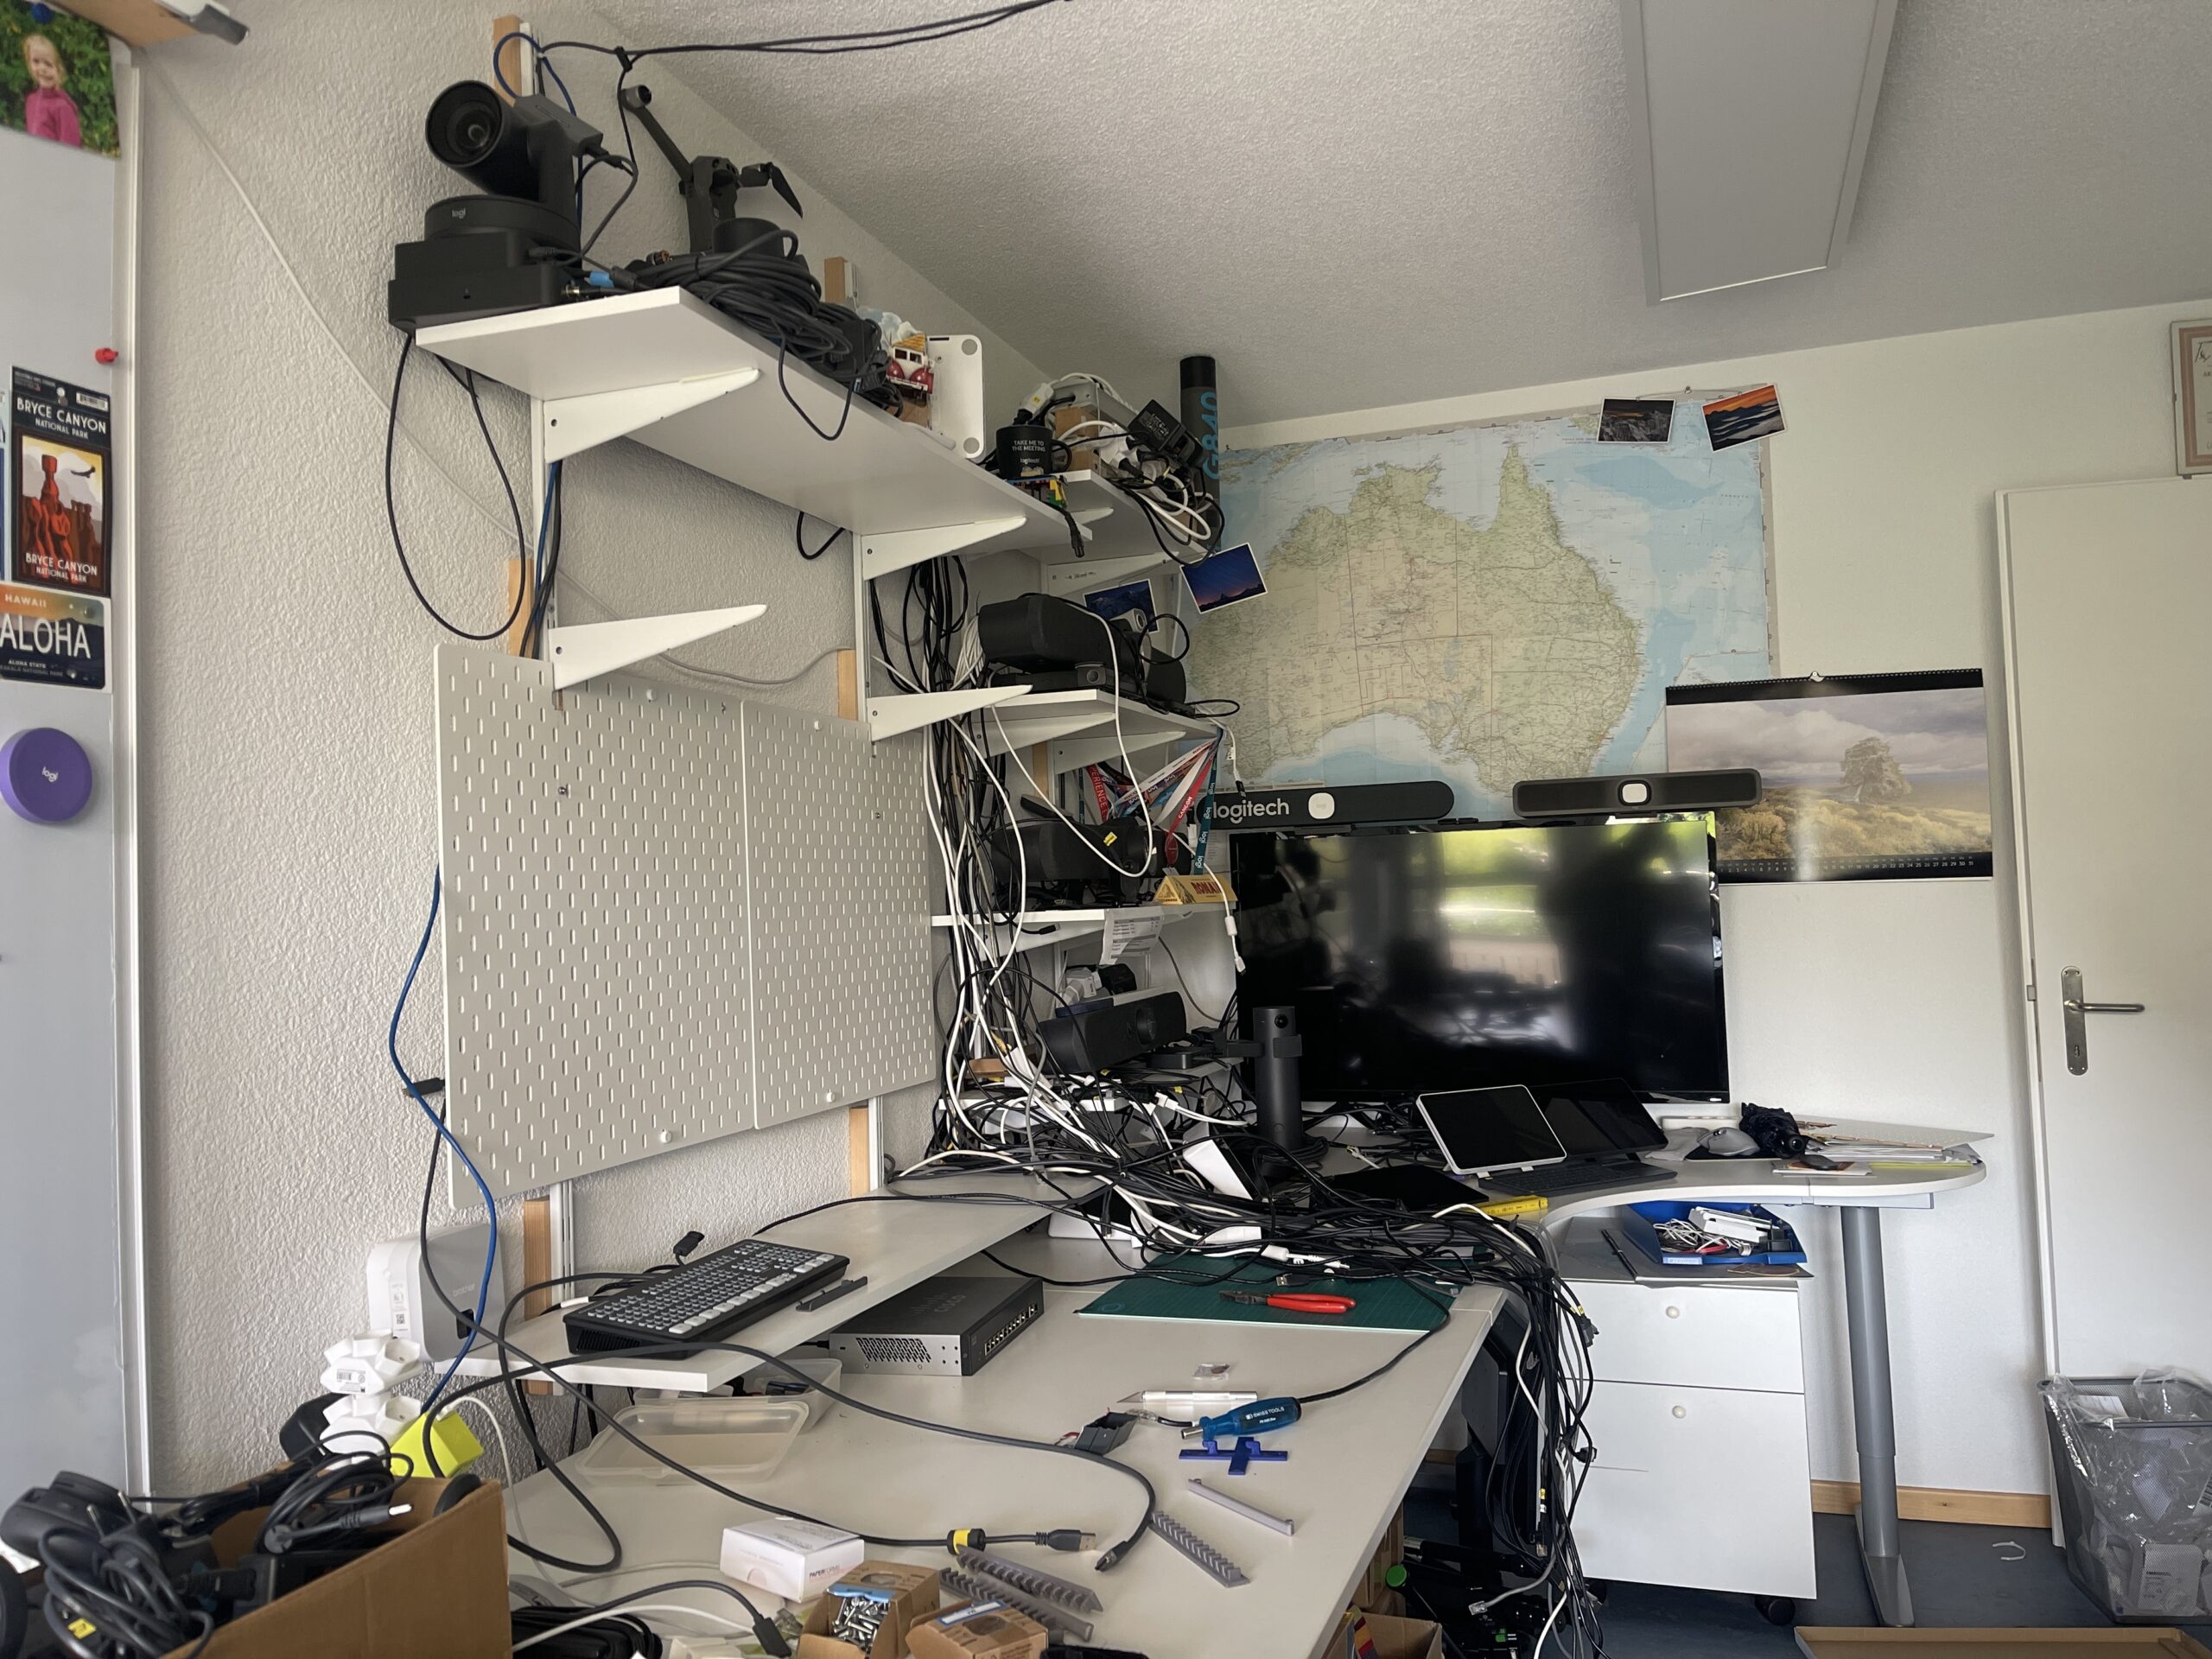
Lately, though, my once-organized space had turned into a chaotic mess. New gear and cables were scattered everywhere, making it difficult to navigate and even harder to work efficiently. So, I decided it was time for my annual re-wiring session. This year, however, I had a new trick up my sleeve: the IKEA Skådis wall.
The IKEA Skådis Wall: A Game-Changer
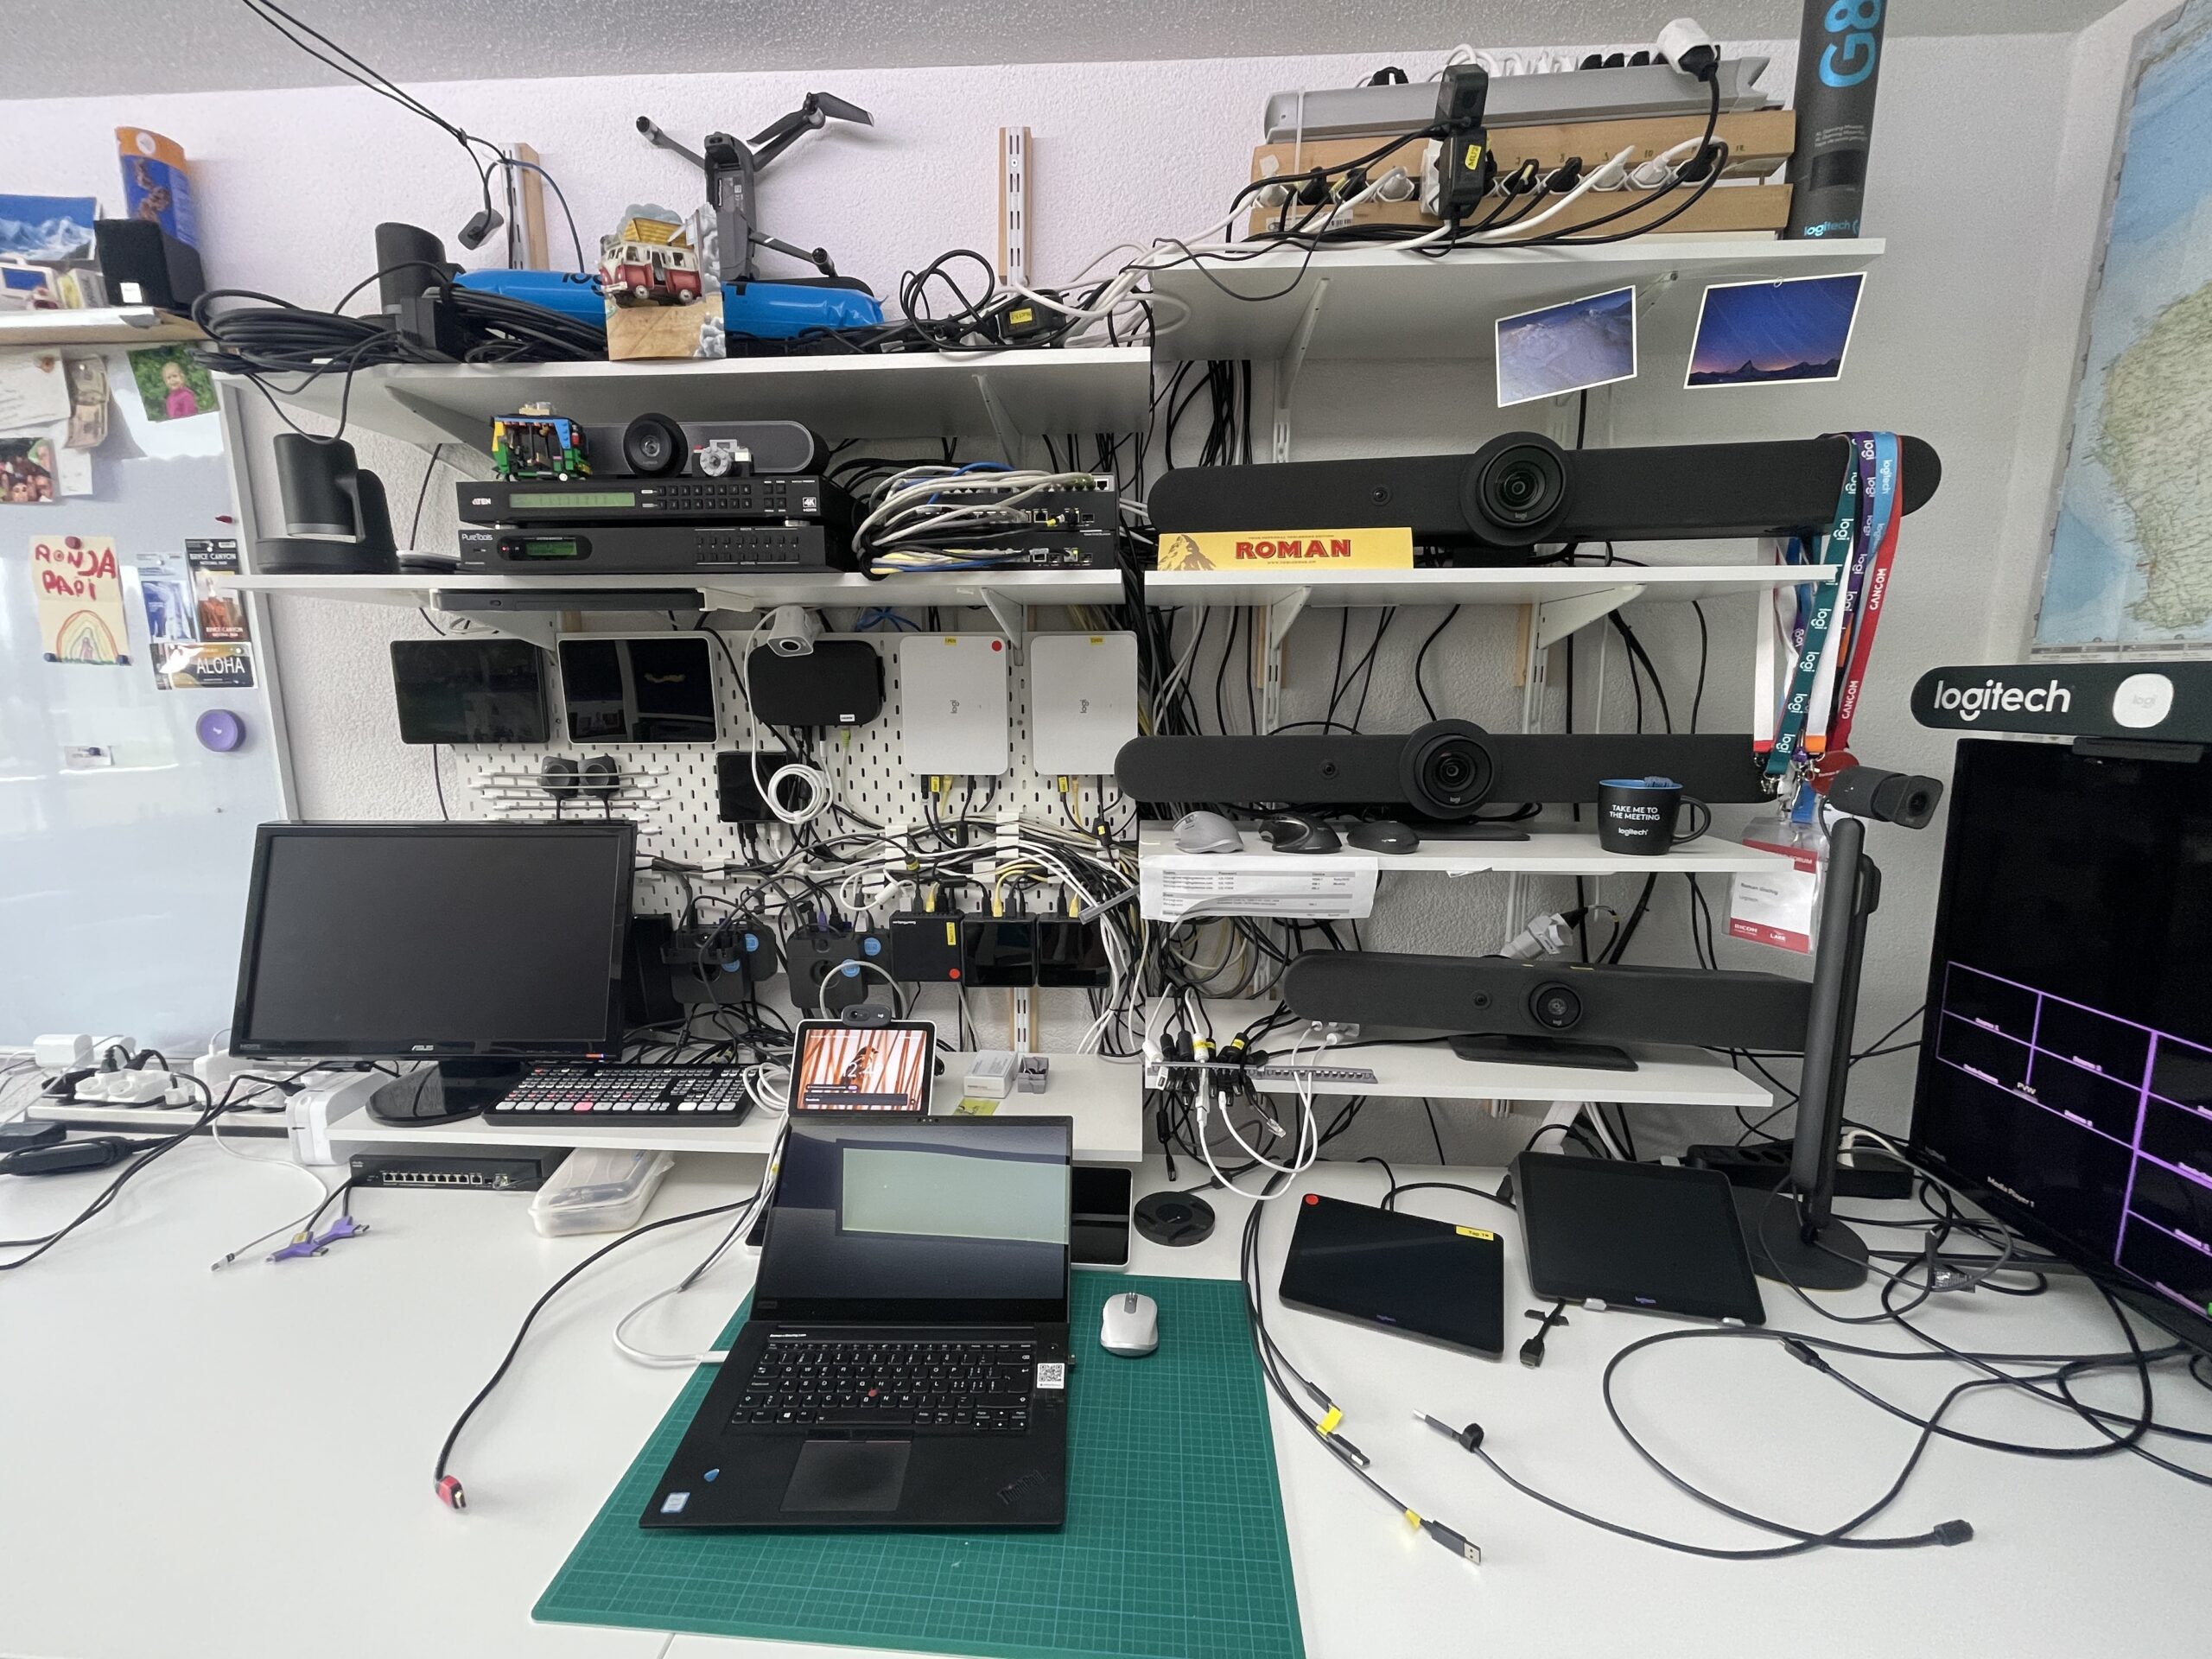
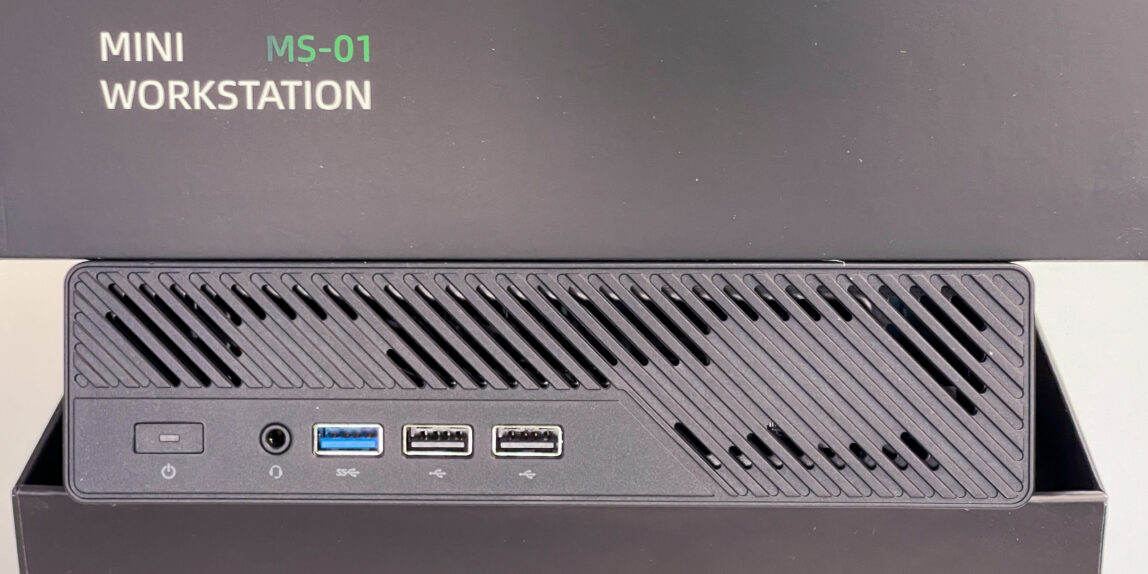
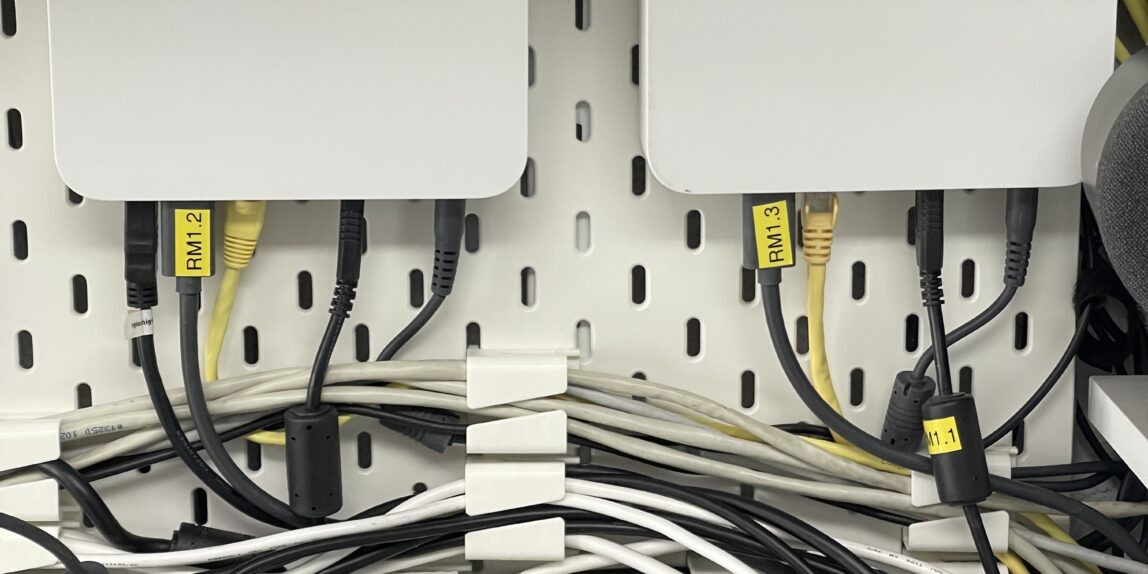
I wanted to find a better way to manage my NUCs and other compute units. They were constantly sliding around on the drawers, making cable management a nightmare. The Skådis wall seemed like the perfect solution. With this pegboard system, I could mount most of my gear, keeping it off the surfaces and neatly organized.
Planning and Execution: A Strategic Approach
Before diving in, I took a different approach this time—I drew up a wiring diagram.

This helped me map out where everything needed to be connected. While I didn’t include every single USB cable (that would have been overwhelming), I documented all the Ethernet and HDMI connections.
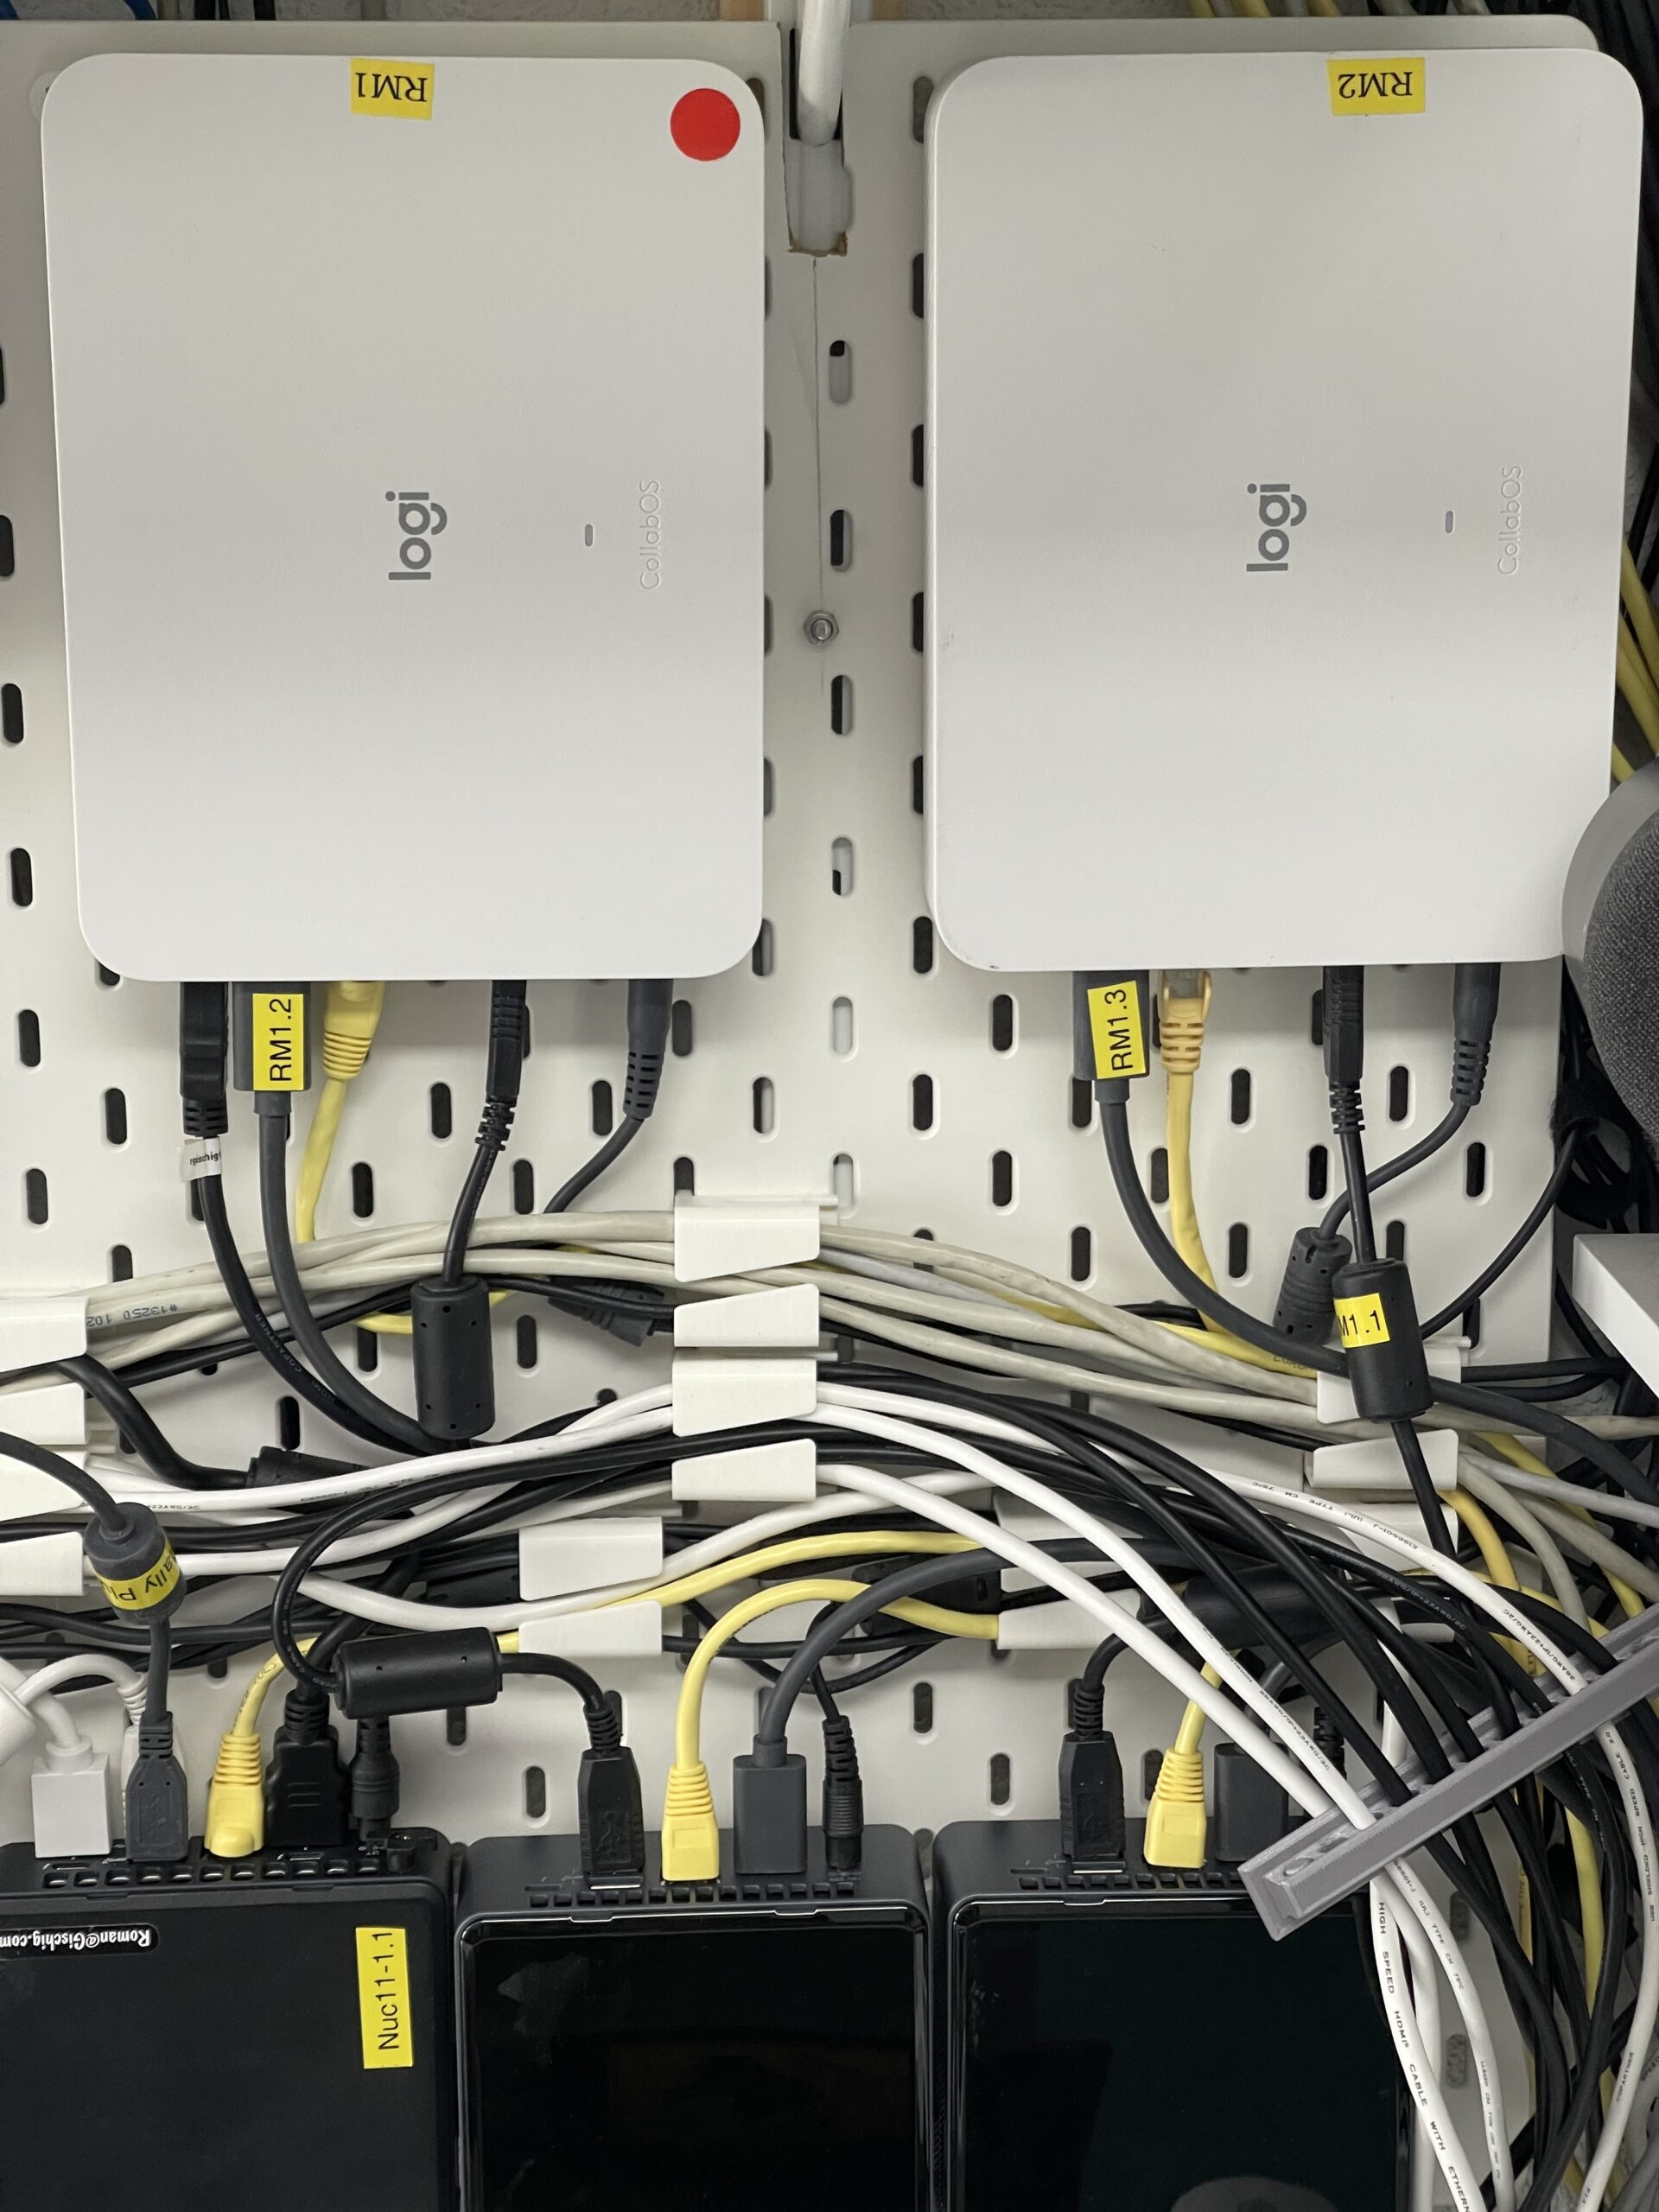
Next, I used my 3D printer to create custom hooks for the Skådis board. Each device had different VESA mounting patterns, ranging from 75mm to 100mm, so I adjusted my designs accordingly. These hooks not only made it easy to mount the gear but also ensured I could remove and reposition devices as needed.
The Re-Wiring Process: A Day’s Work
Re-wiring the lab took about a day. I started with the power cables, moved on to the network cables, and finally tackled the HDMI cables. The HDMI cables were particularly challenging—they were either too long or too stiff to handle easily. In the end, I added a USB extension to every device to simplify the process of connecting TAPs as required.
Cleaning Up and Final Touches
After getting the physical setup in order, I turned my attention to the software side, specifically the StreamDeck integration. Ensuring all my macros and shortcuts were functioning correctly was the final step in the overhaul.
The Result: A Satisfying Transformation
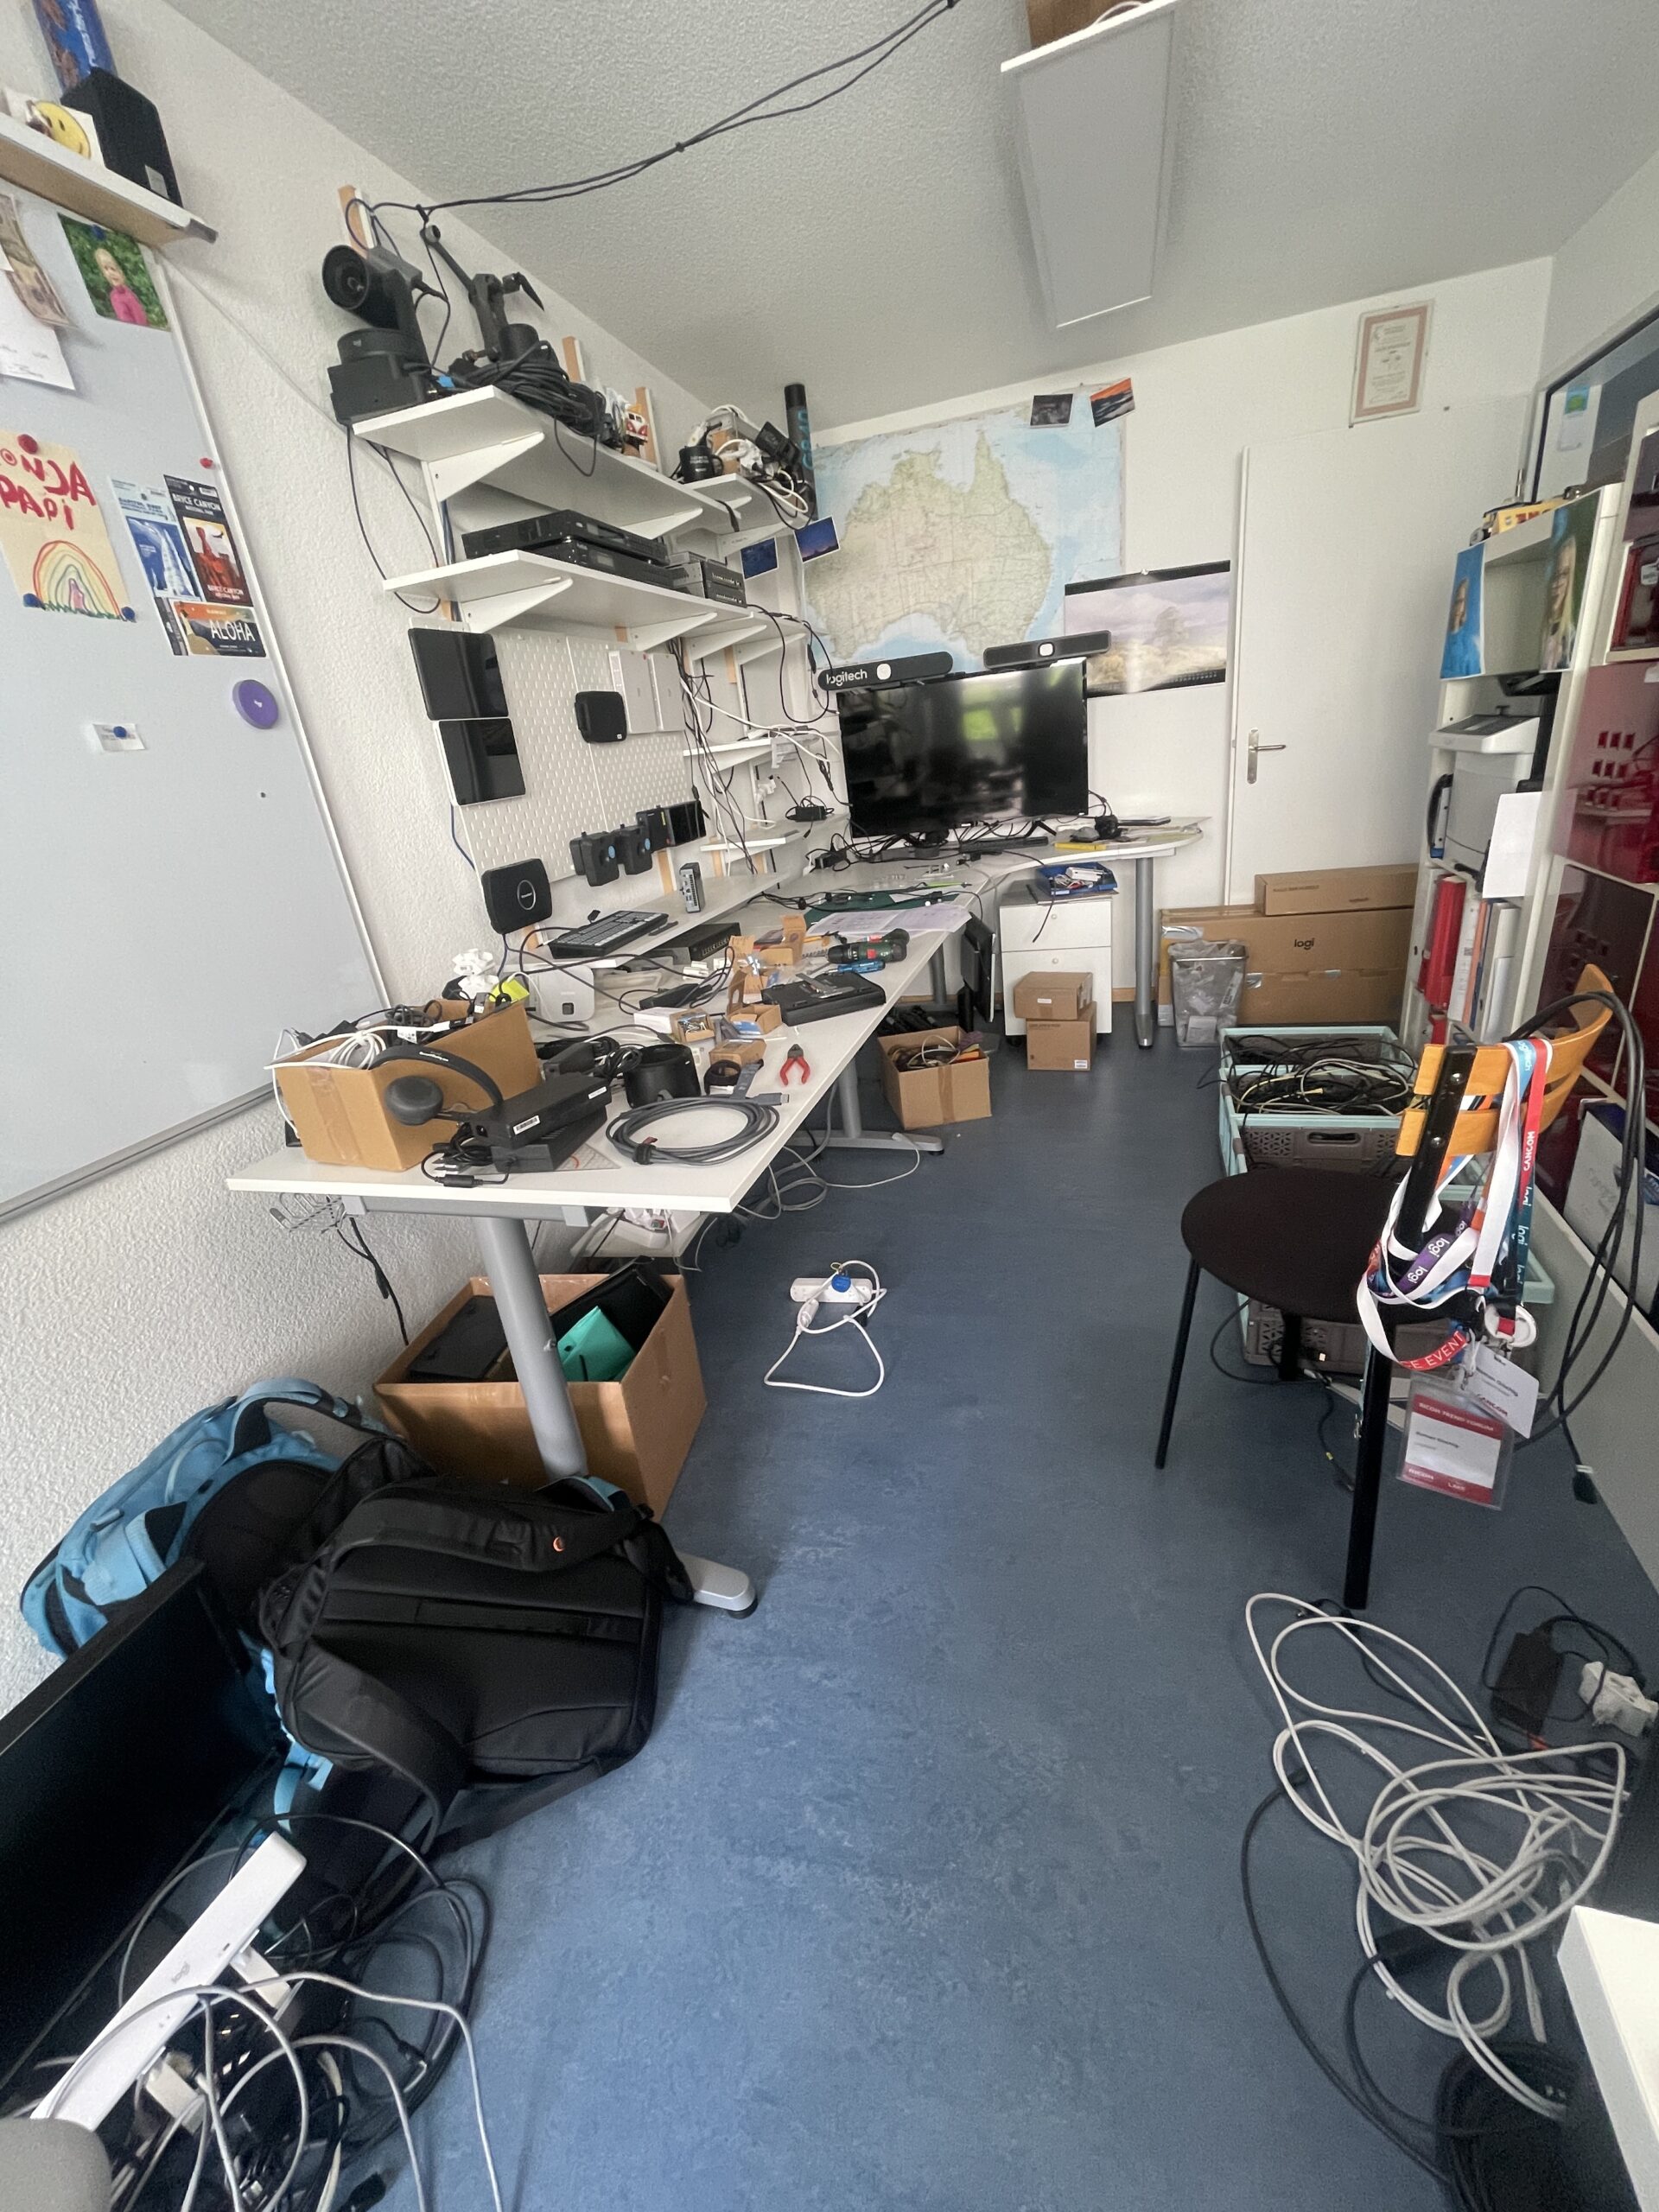
Now that everything is back in place, I’m thrilled with the results. The Skådis wall has significantly improved the organization of my lab, and the re-wiring has made it much easier to manage the myriad of cables. It feels like a brand-new workspace, ready to tackle whatever challenges come my way.
Stay tuned for more updates on my home lab adventures and new projects I’ll be diving into. And as always, happy tinkering!